
Weekly Tasks
Visual Inspection Tasks
Perform the following visual inspection tasks. In case of damage, contact support.
LED strips
Check whether all four LED strips are functional. They should blink red when the emergency stop button is pressed.
Visually inspect the KLT press for wear and damage.

Visually inspect the conveyor belts for wear and damage.
Visually inspect cameras and sensors for damage:
Safety laser scanner in front and rear (3x).
Depth camera in the gripper.
Barcode camera in the gripper.
Reflective tape sensor in the gripper.
Navigation cameras front and rear.
Top laser scanner.
Depth camera above the KLT press.
Binary sensor on the KLT press.
Visually inspect SOTO’s charging station for damage.
Visually inspect all shelves and shelf adapters. Ensure that
Shelves are in their modeled position (within tolerances)
The areas around the docking shapes are kept clear
For top docking shapes, check that the plane connected to the pole is parallel to the front side of the shelf. Any deviations here can cause the robot to dock to the shelf at an angle and can cause manipulation issues.
Shelf adapters are not displaced and damaged
QR codes and reflective tape on the adapters are not damaged
Rollers in the shelf compartment are not blocked or damaged. This can lead to KLTs being stuck in the compartment and not rolling down.
Light Curtain Alignment Verification
Verify that SOTO’s light curtains are correctly aligned using the blue diagnostic LEDs.
Shut SOTO down via Tools → “Shut down robot”
Turn SOTO off via the physical switch
Turn SOTO back on via the physical switch and wait until the blue diagnostic lights show up on the light curtains. They will remain visible for two minutes.
Check the blue diagnostic LEDs on each of the four light curtain receivers (see Figure below). The light curtain receivers are located at the bottom of each of SOTO’s four openings. If a light curtain indicates two or fewer blue LEDs, contact support for re-aligning the light curtains.
.jpg?inst-v=2a9dbfcd-d3f9-45af-871a-a5760069f4dc)
Cleaning Instructions
Cleaning of Vertical Axis Brake Rod
Clean and degrease each of the two brake rods of the vertical axis (located between the backpack and gripper space).
Press the emergency stop button to make work on the robot safe.
Take a paper cloth and moisten it with a generic brake cleaner / degreaser.
Wipe the two brake rods of the vertical axis (above and below the brake) and the brake itself with the cloth.
Release the emergency stop button.
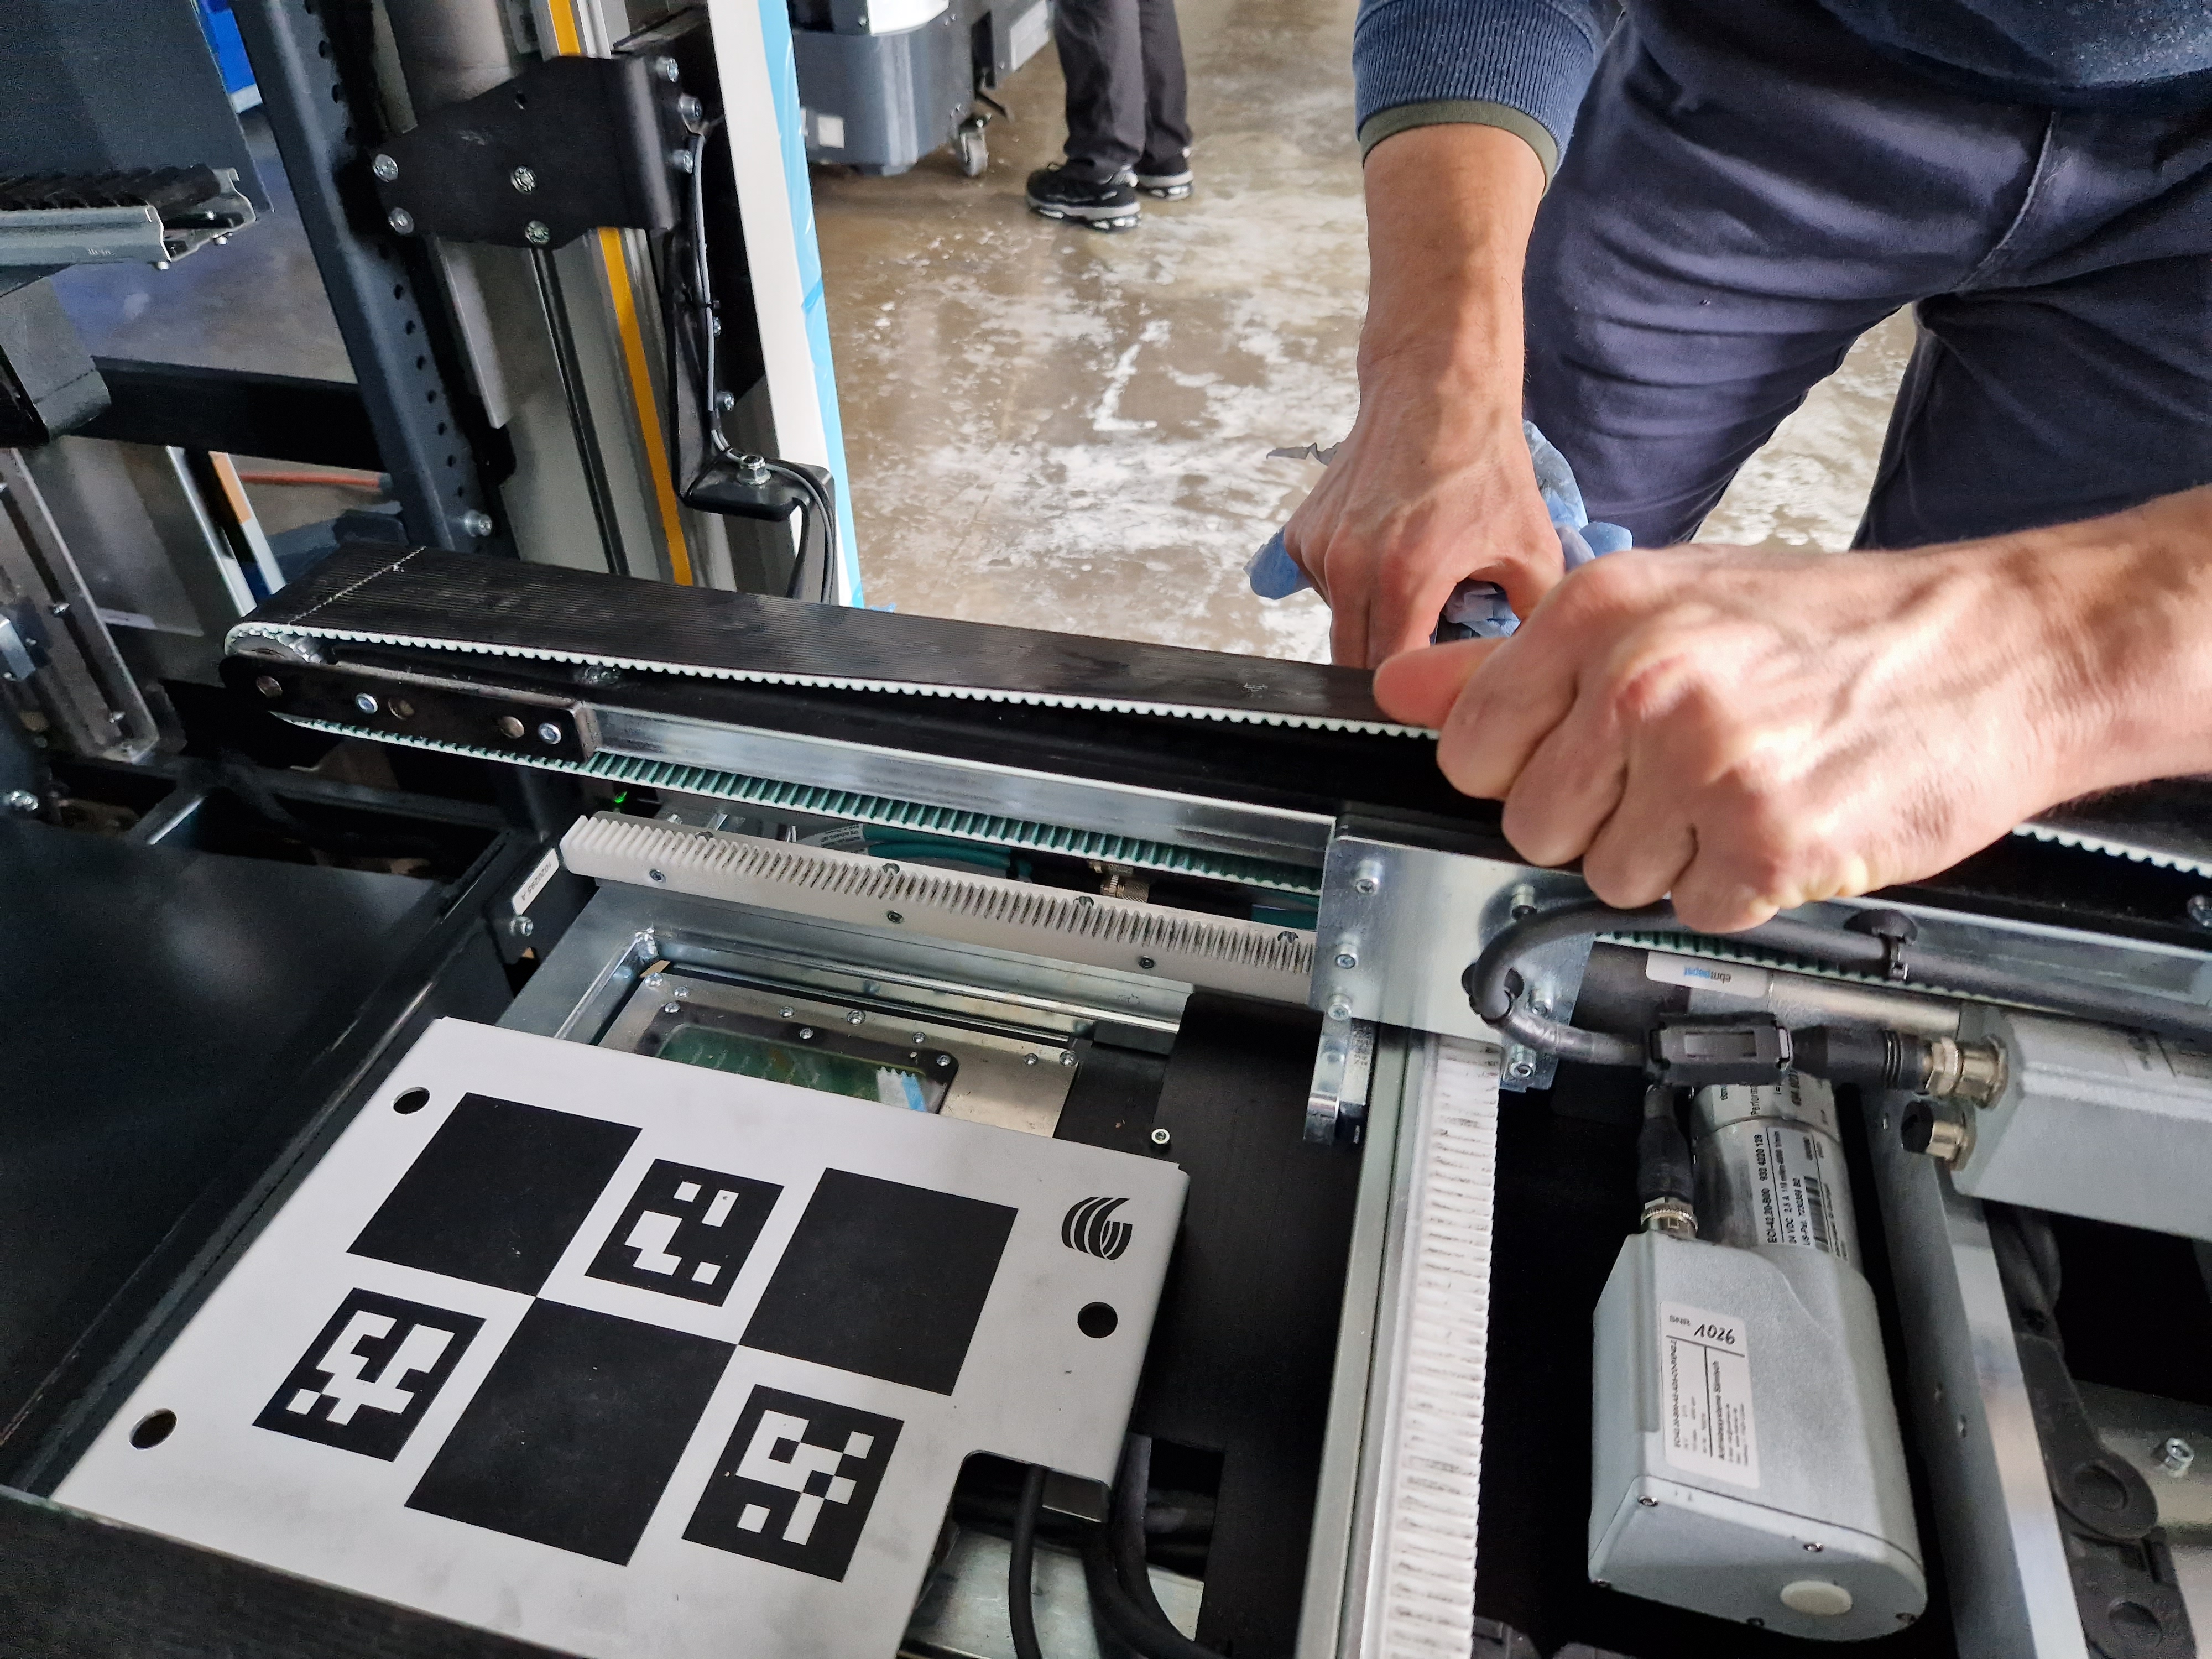
Cleaning of the Conveyor Belts
Clean the two conveyor belts in SOTO’s gripper.
Press the emergency stop button to make work on the robot safe.
Use soap water and a cloth to clean the top surface of the conveyor belts
Use a dry cloth to dry up the surface after cleaning it.
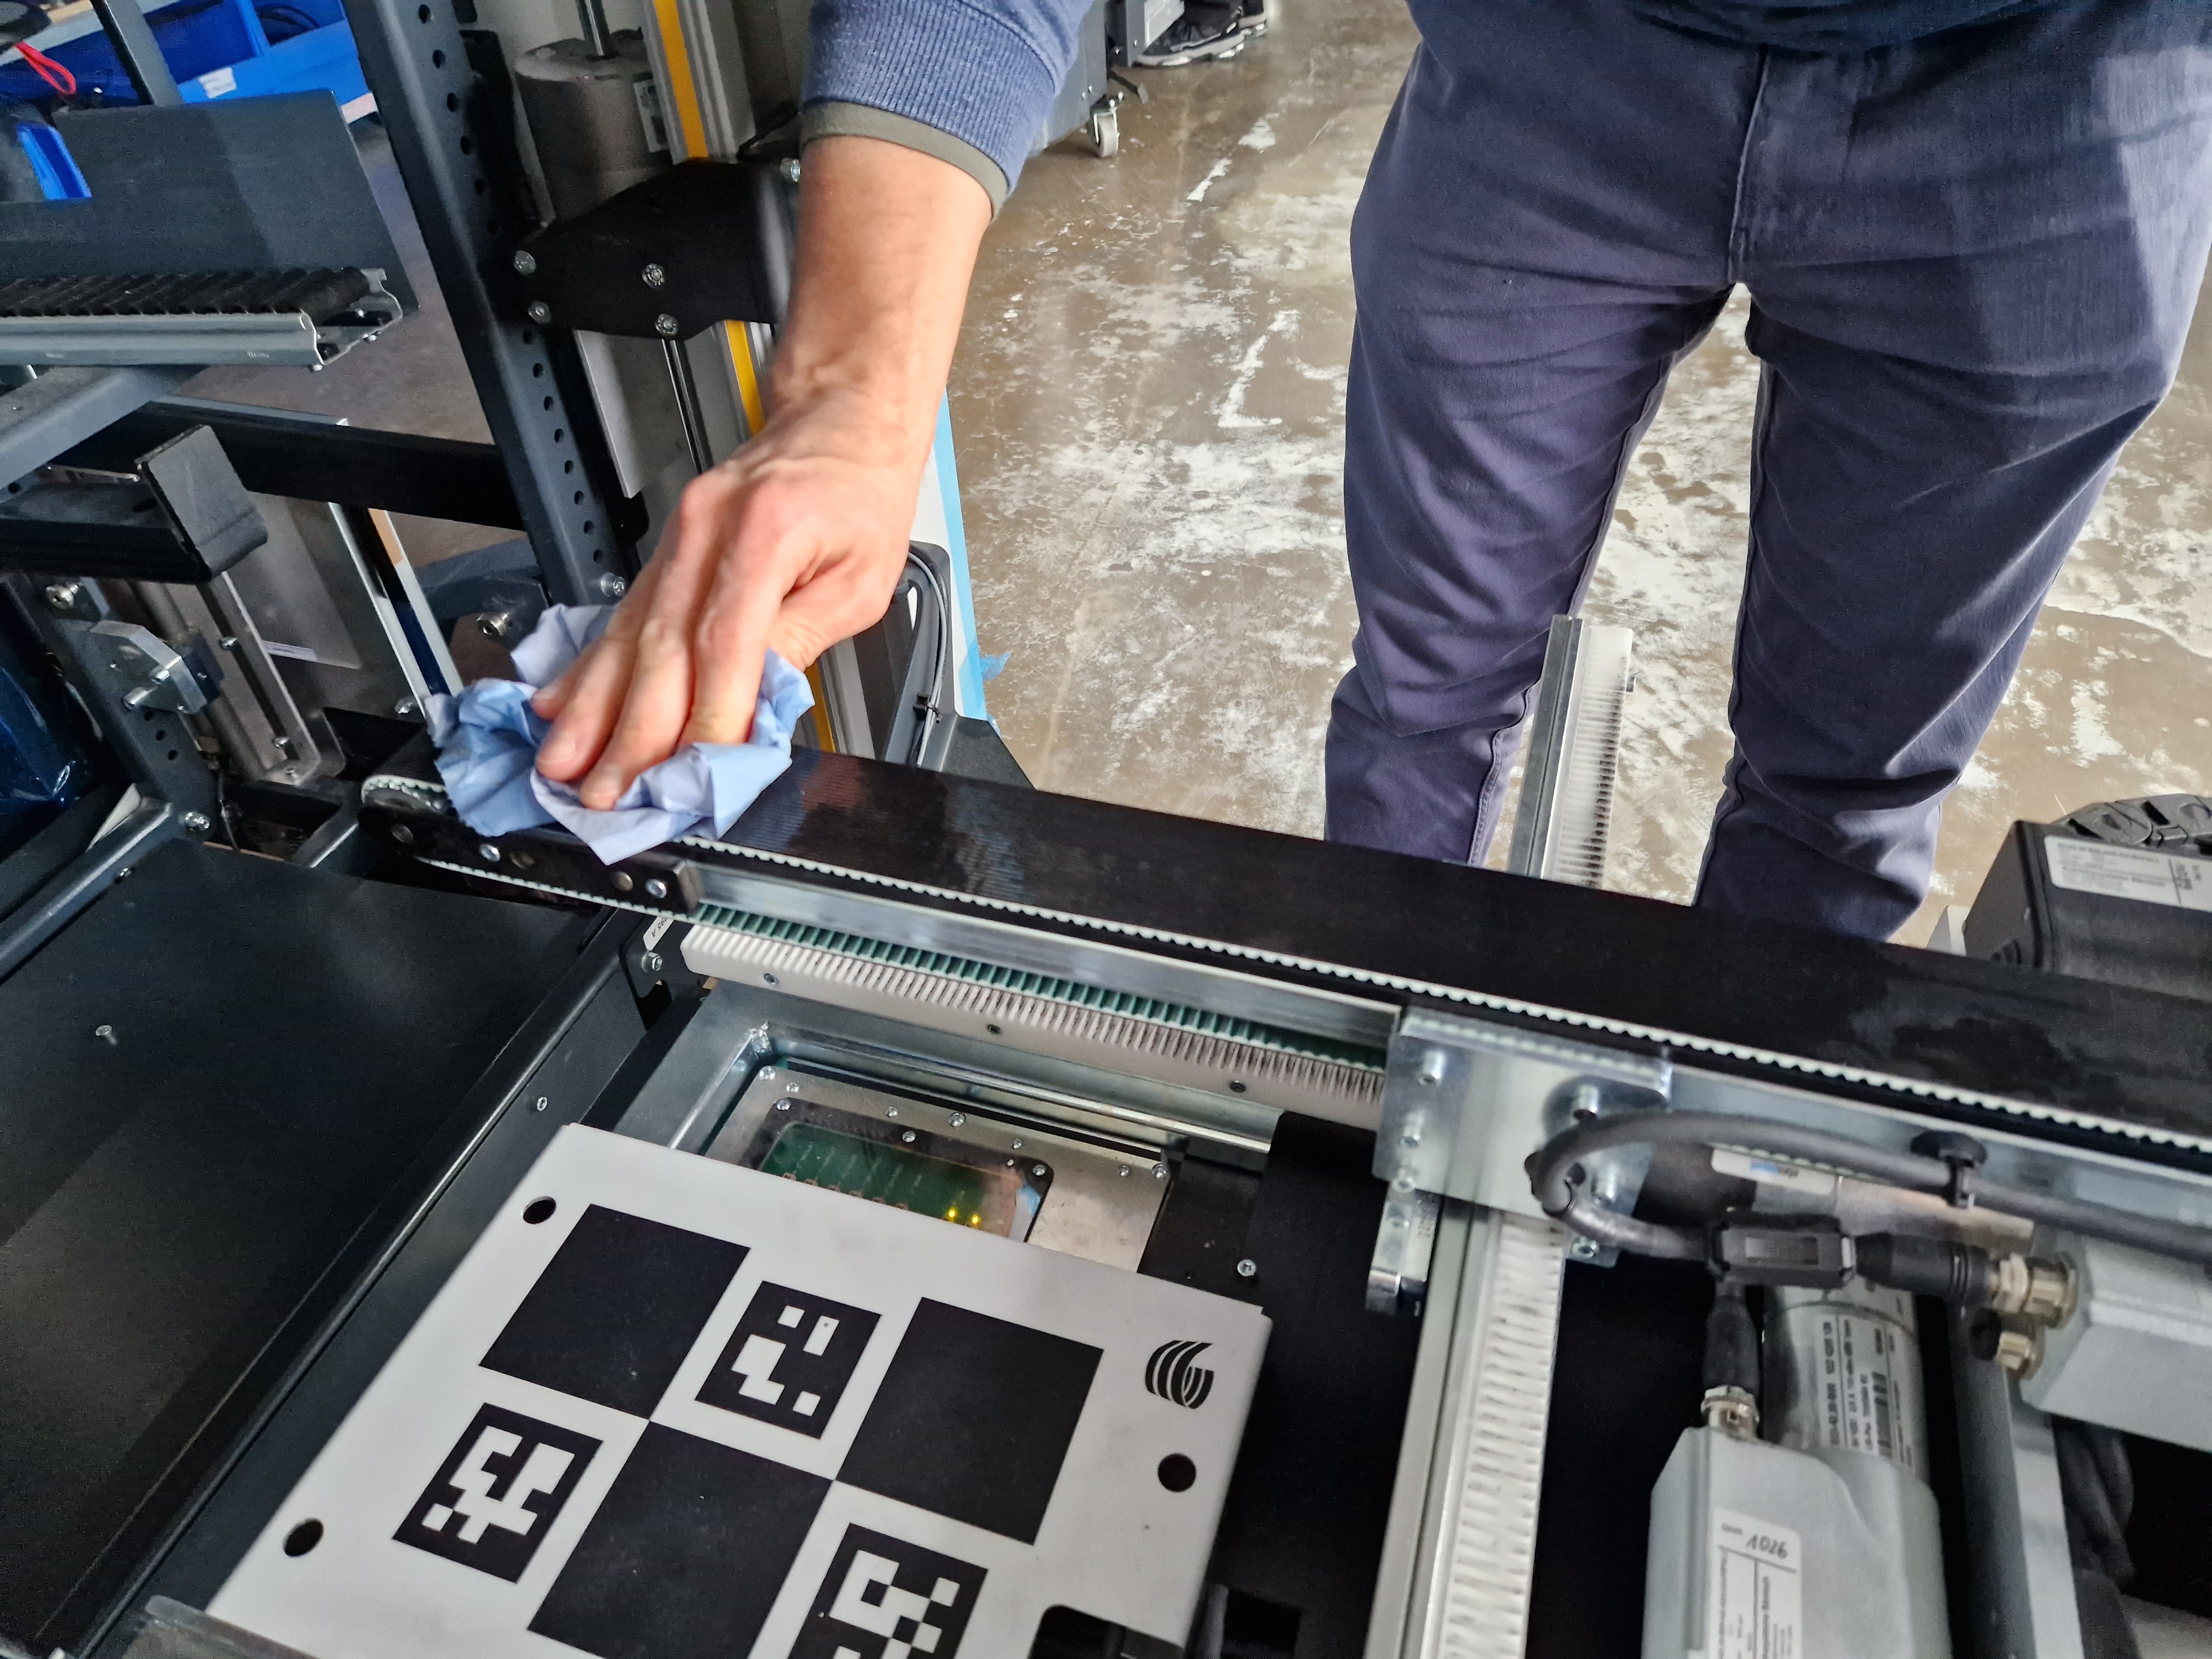
Push the conveyor belt to the back (see Figure below), and wipe the top surface of the conveyor belt. Repeat until the entire belt is clean.
Repeat the procedure for the second conveyor belt.
Release the emergency stop button.
Cleaning of Cameras
.png?inst-v=2a9dbfcd-d3f9-45af-871a-a5760069f4dc) | Caution! Avoid touching the cameras. Already small movements of the camera can influence the performance and a re-calibration by a service technician might be necessary. |
|---|
Check the barcode camera, the gripper depth camera and the depth camera above the KLT press if there is dust on the lens.
Only if dust is present, remove dust from the lens by brushing the dust off with an oil-free soft brush or a lens blower brush. Avoid touching the camera any further.
 | Notice! If water or oil is found on the lens, please contact the support team before attempting to remove it. |
|---|
Cleaning of Sensors
For each of the sensors in the list below, perform the following steps:
Carefully remove dust from the sensor with a dust brush
Clean the covers in front of the safety laser scanners to prevent dust and spiderwebs from obstructing the laser scanners.
Moisten a clean, lint-free cleaning cloth with lukewarm water and a small amount of antistatic plastic cleaner
Carefully clean the sensor with the cloth. Apply as little force as possible to not move the sensor from its position.
List of sensors to be cleaned:
Safety laser scanner (3x).
Light curtains (8x).
Navigation cameras (2x).
Vacuum Cleaning of SOTO’s Interior
Carefully remove dust and dirt from the robot’s interior with a vacuum cleaner. Make sure to not touch sensors with the vacuum cleaner.