This release includes new features and improvements that make SOTO easier to use and more efficient.
SOTO
SOTO adheres to driving orientations more closely
SOTO now adheres to the driving orientations set in the Environment Editor (EE). This improves reliability, especially when navigating through narrow spaces.
The default configuration for new edges is that SOTO's orientation is free (i.e., the robot can drive with either its backside or frontside facing forward). For guidance on how to set the robot's orientation on edges, please refer to this page.
SOTO uses the full capacity of the backpack
SOTO can now use the entire capacity of its backpack for KLT storage. Previously, one compartment needed to contain an empty space for reordering purposes. This improvement makes it possible to maximize the number of KLTs transported per tour.
Note: If the backpack is designed with only one compartment for a specific size (e.g. one 200x300 compartment), the backpack will still require one free space.
SOTO docks to chargers more reliably
SOTO now docks to chargers more reliably, ensuring that it charges effectively when the battery is low. This improvement helps to ensure that the robot is sufficiently charged during planned operating times.
Improved recovery from safety field violations
SOTO is more robust when recovering from safety field violations or when contact is made with the bumper. This results in smoother recoveries, allowing the robot to resume operations more efficiently.
Improved KLT-tracking
SOTO now picks KLTs slightly faster due to improvements to the KLT-tracking algorithm. These improvements have sped up gripper checks and movements, resulting in time savings.
LED signalling of pending actions
The robot's signalling system has been updated. If no movement is currently signalled by the LEDs, SOTO will indicate ist next action using the LEDs and wait two seconds before executing. This safety feature makes bystanders aware of pending movements. The LEDs will turn off after 10 seconds of complete inactivity.
Improved performance with third-party fleet managers
SOTO is better able to process VDA5050 commands that are transmitted from third-party fleet managers. This leads to more reliable behavior and better performance when SOTO is operating in mixed fleet environments.
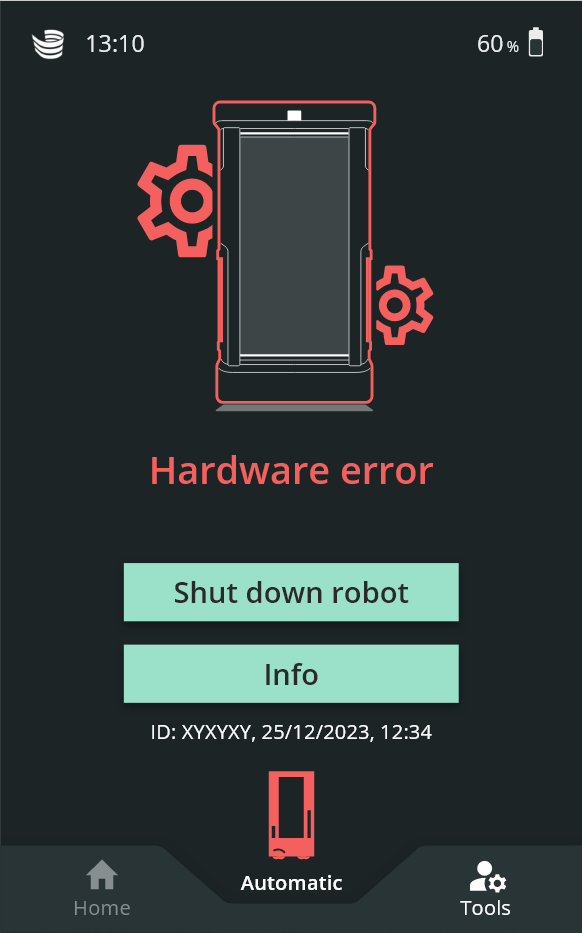
Tutorial for shutting down and restarting the robot
There is a new tutorial on how to completely shut down and restart the robot. This may be required in some rare cases when SOTO detects a hardware error:
Press the “Shutdown” button on the SOTO display.
Once the lights are off and the robot has shut down, turn the I/O switch on the robot.
Wait for 10 seconds and turn the robot back on.
Check whether the error occurs again.
Tutorial for items missing from the gripper
There is a new tutorial for when an item is missing from the gripper. This may occur when it is manually removed during handover. The tutorial on the SOTO display provides instructions on how to rectify the problem.
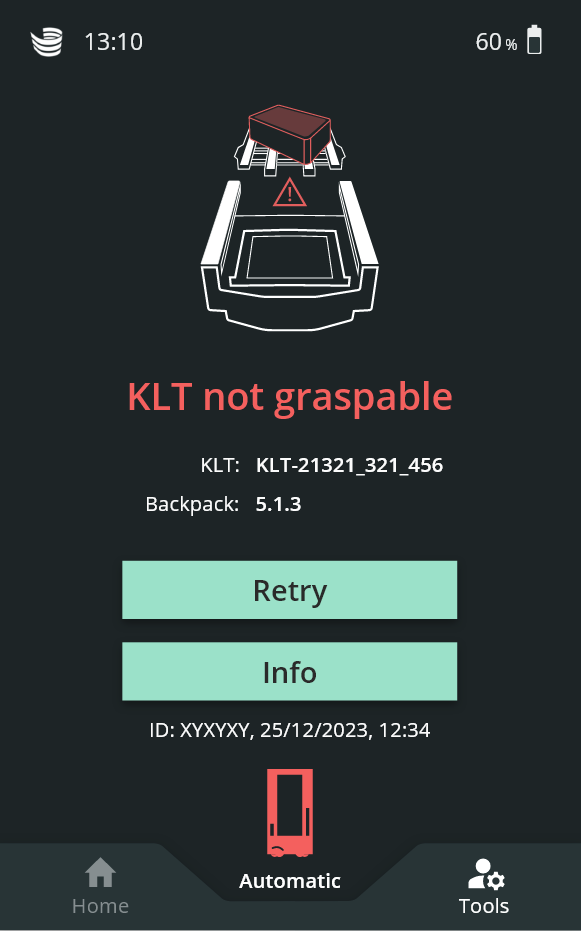
Tutorial for unreachable KLTs
There is a new tutorial for when a KLT is unreachable in the backpack. This may occur if the KLT is stuck in the backpack. The tutorial on the SOTO display provides instructions on how to rectify the problem.
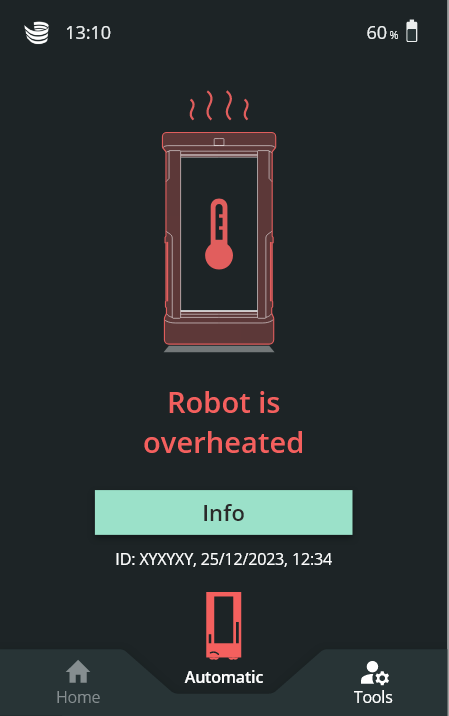
Tutorial for overheating
There is a new tutorial for when SOTO has reached a critical temperature and needs to cool down. If this occurs, the SOTO display provides an option to contact support.
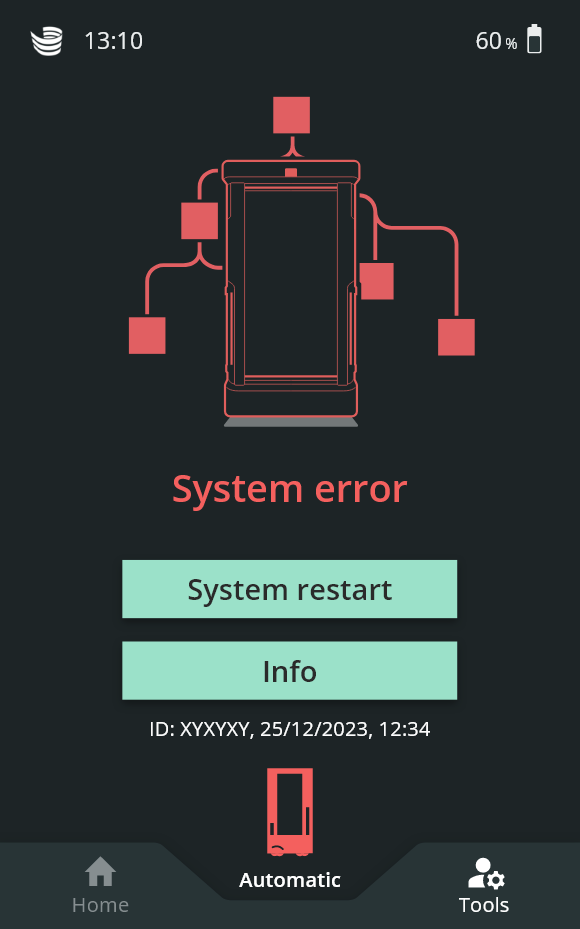
Tutorial for system errors
There is a new tutorial for when SOTO encounters a system error. The tutorial on the SOTO display provides instructions on how to rectify the problem.
Hardware test shown on the SOTO display
SOTO performs a daily hardware test to check individual components. During this test, the message "hardware test in progress" is shown on the SOTO display while the robot performs gripper movements. This test is only performed while SOTO is charging.
Magazino Fleet Manager (MFM)
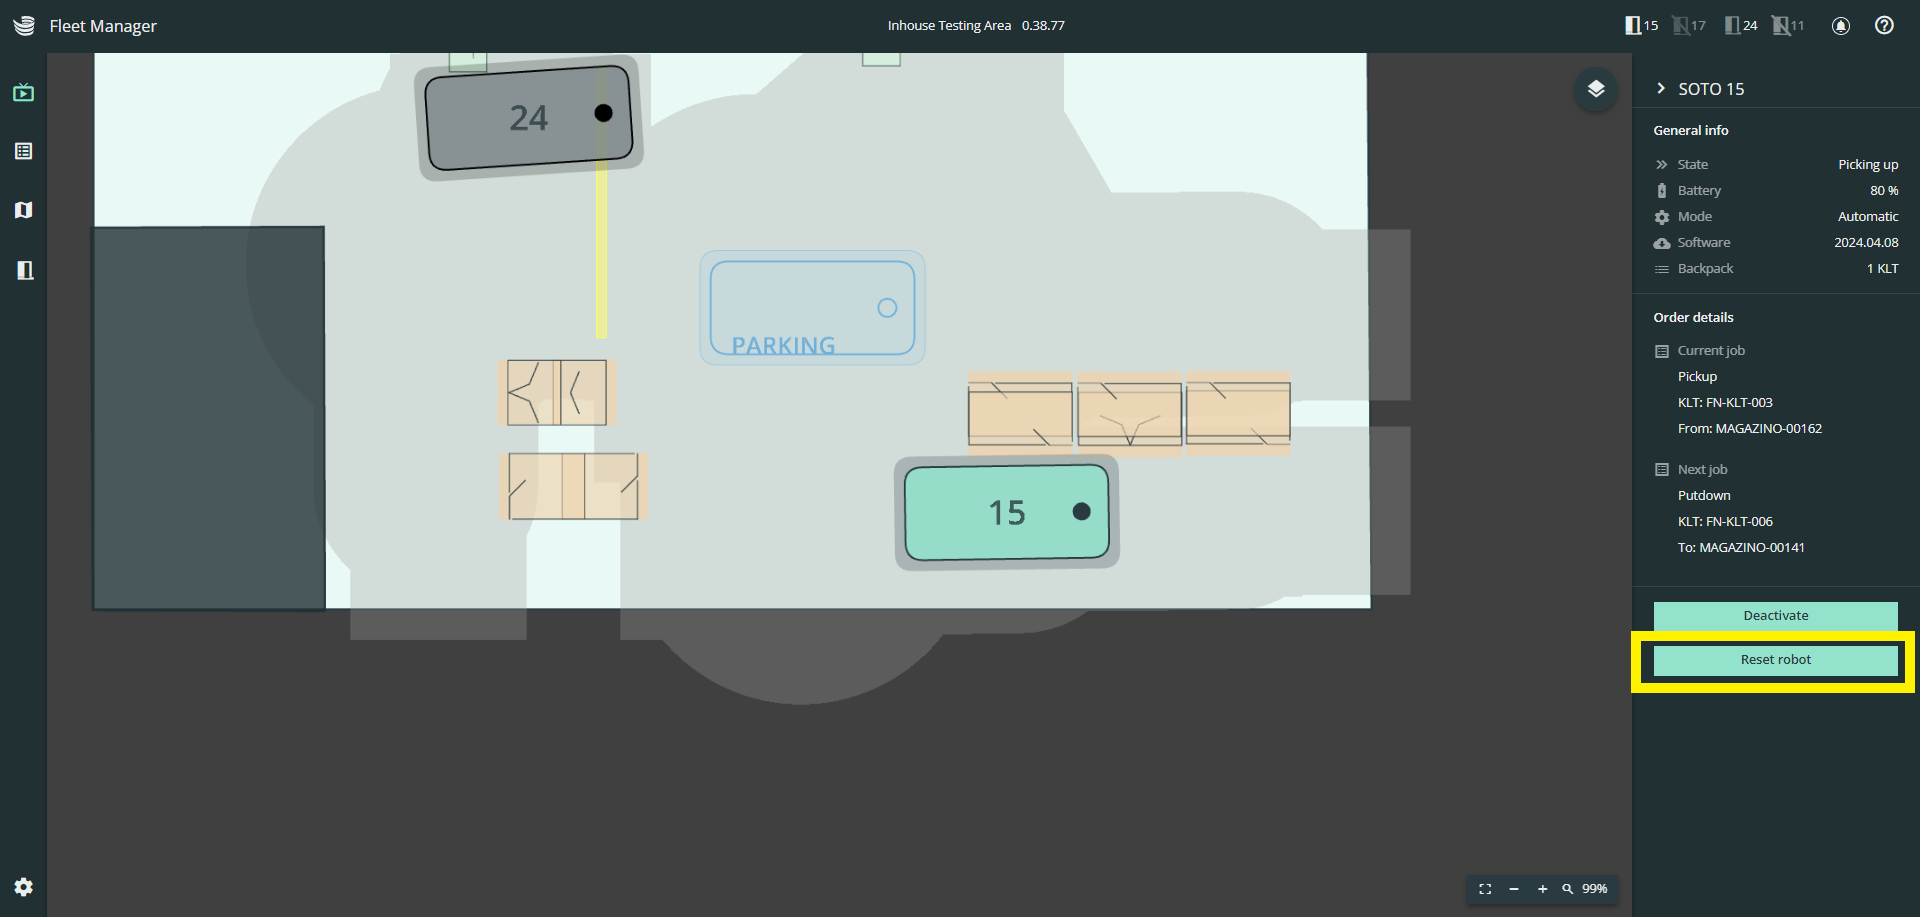
Reset robot in Live View
The Live View provides an option to empty the robot of all KLTs and handle the orders manually:
Click on any robot in the Live View.
Click “Reset robot” in the right-hand panel.
Follow the instructions of the tutorial.
Note: The transport orders linked to the KLTs in the backpack will be "aborted" in the WMS by default. Any further handling must be booked directly in the WMS user interface. The reset robot feature is not available if SOTO is controlled by a third-party fleet manager.
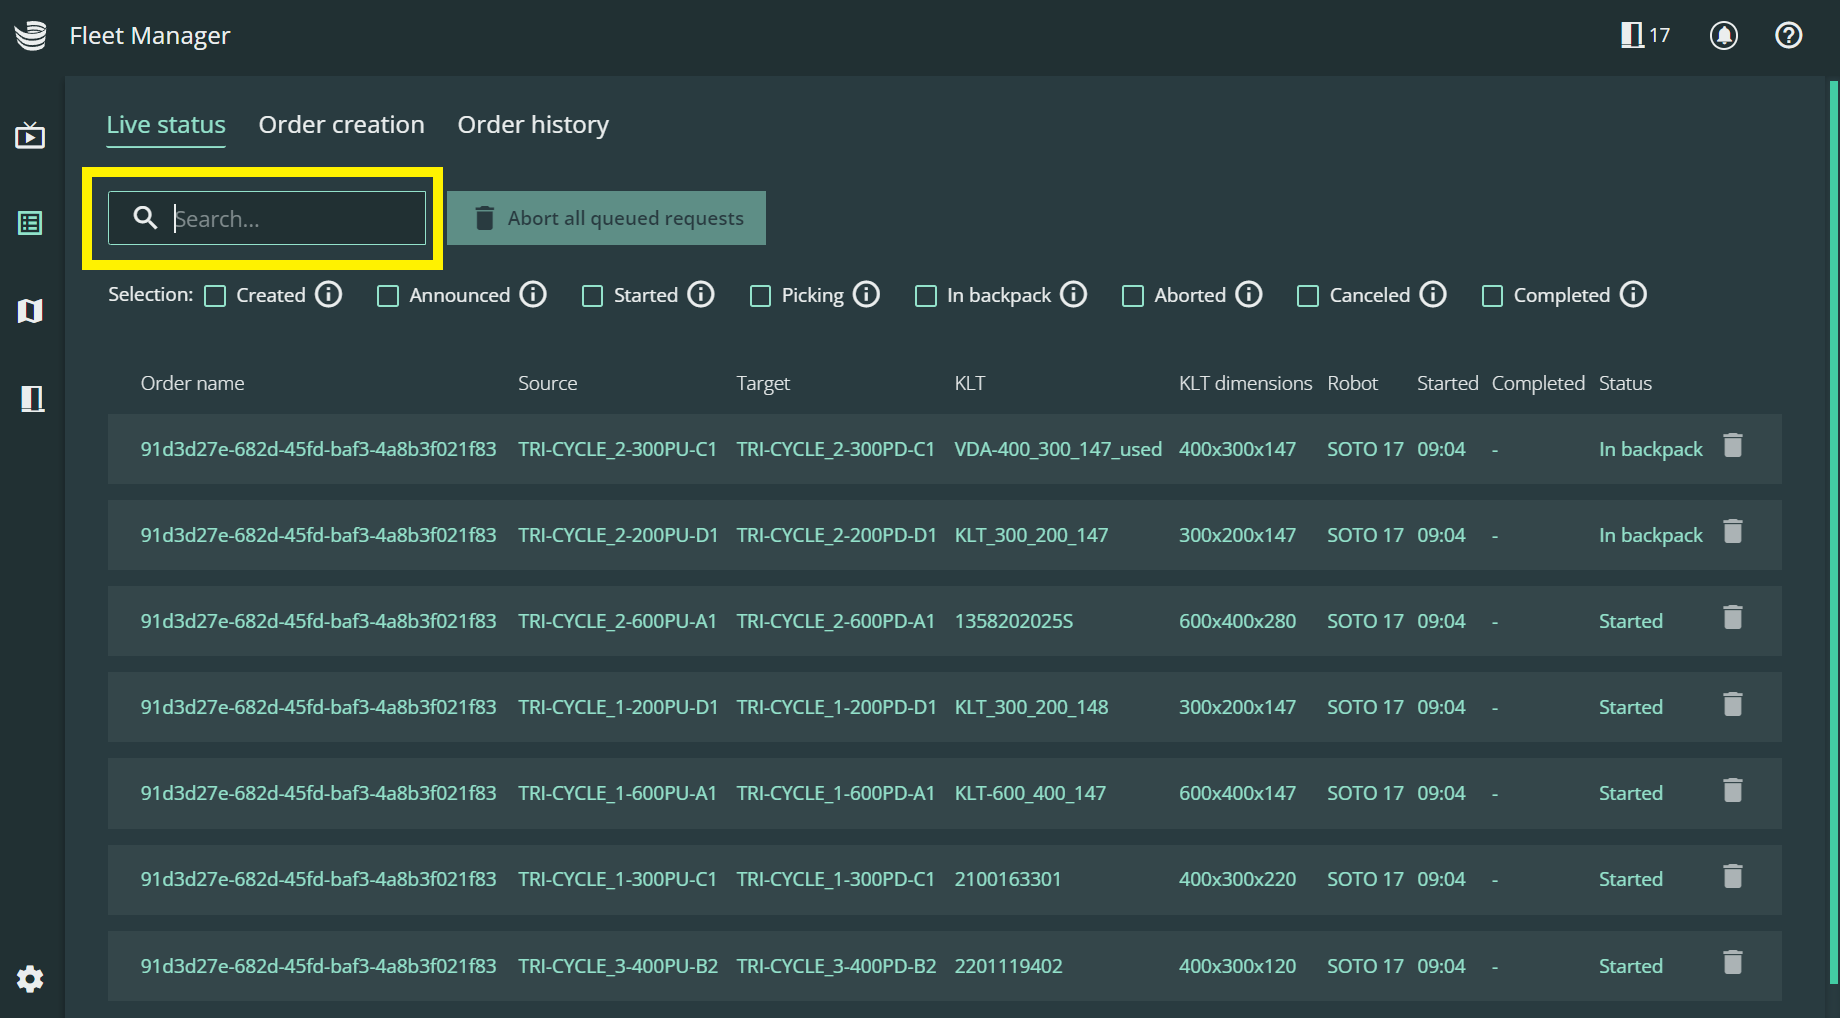
New search function in the Order Overview
The Order Overview provides a search function that can be used to filter across:
Order name
Source
Target
KLT number
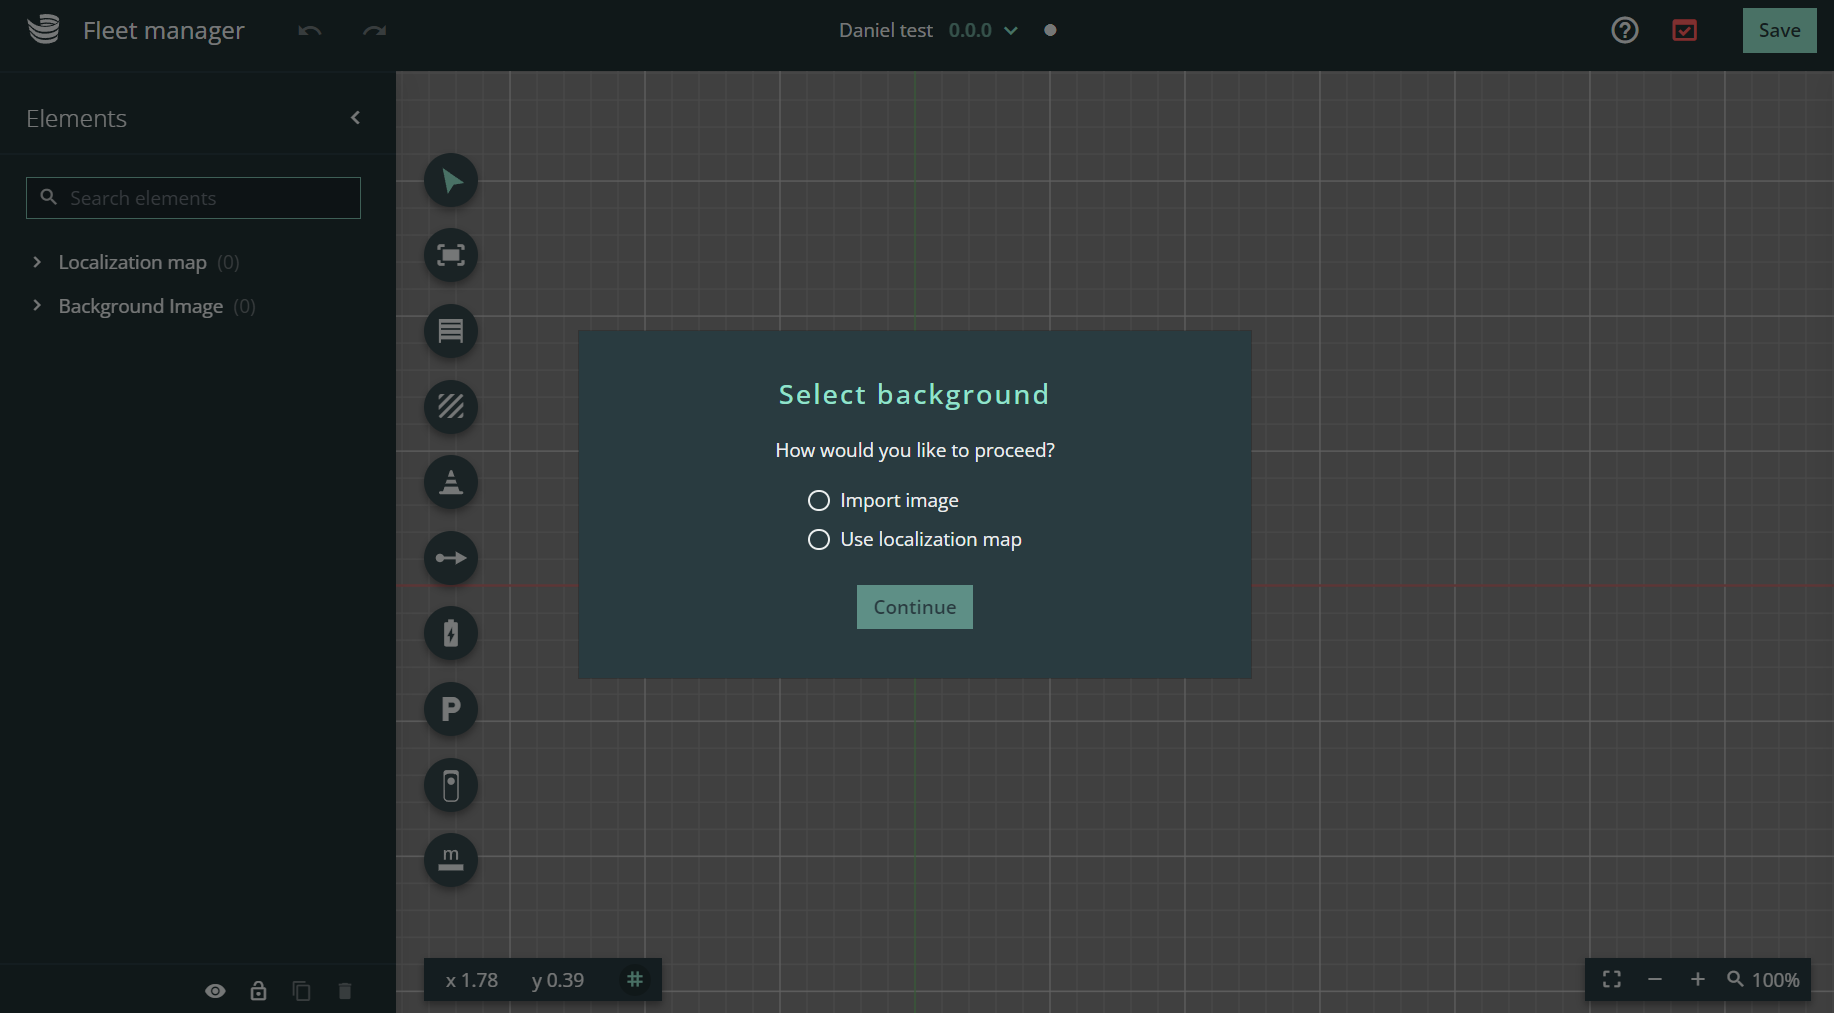
Add a background image to the Environment Editor
In the Environment Editor, a background image can now be set instead of the standard 2D map. This makes it possible to upload blueprints (e.g. CAD images) that include landmarks for easier robot path planning. The chosen background image will also be displayed in Live View.
Important: Please ensure the image size is at least 15 MB and in png format.
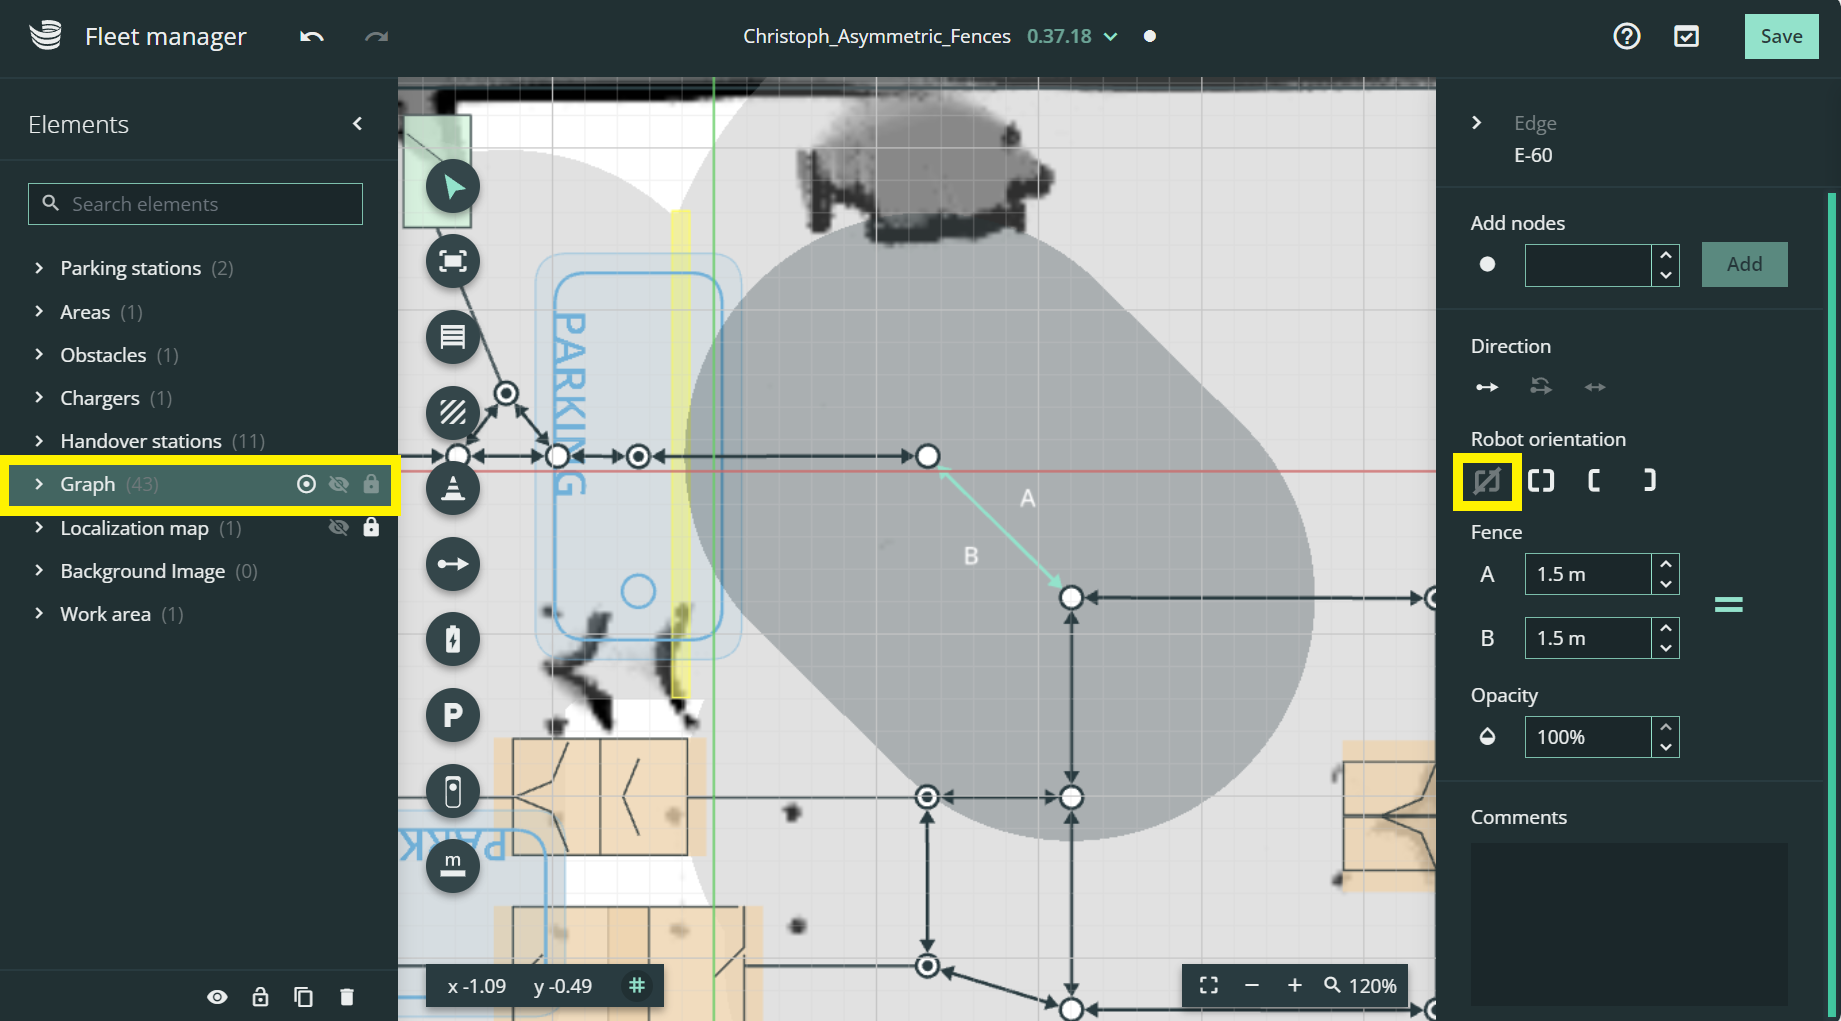
Add edges without orientation settings
In the Environment Editor, it is possible to add edges without orientation settings. This enables SOTO to select the most convenient direction of travel and avoids switching direction in the middle of a tour.
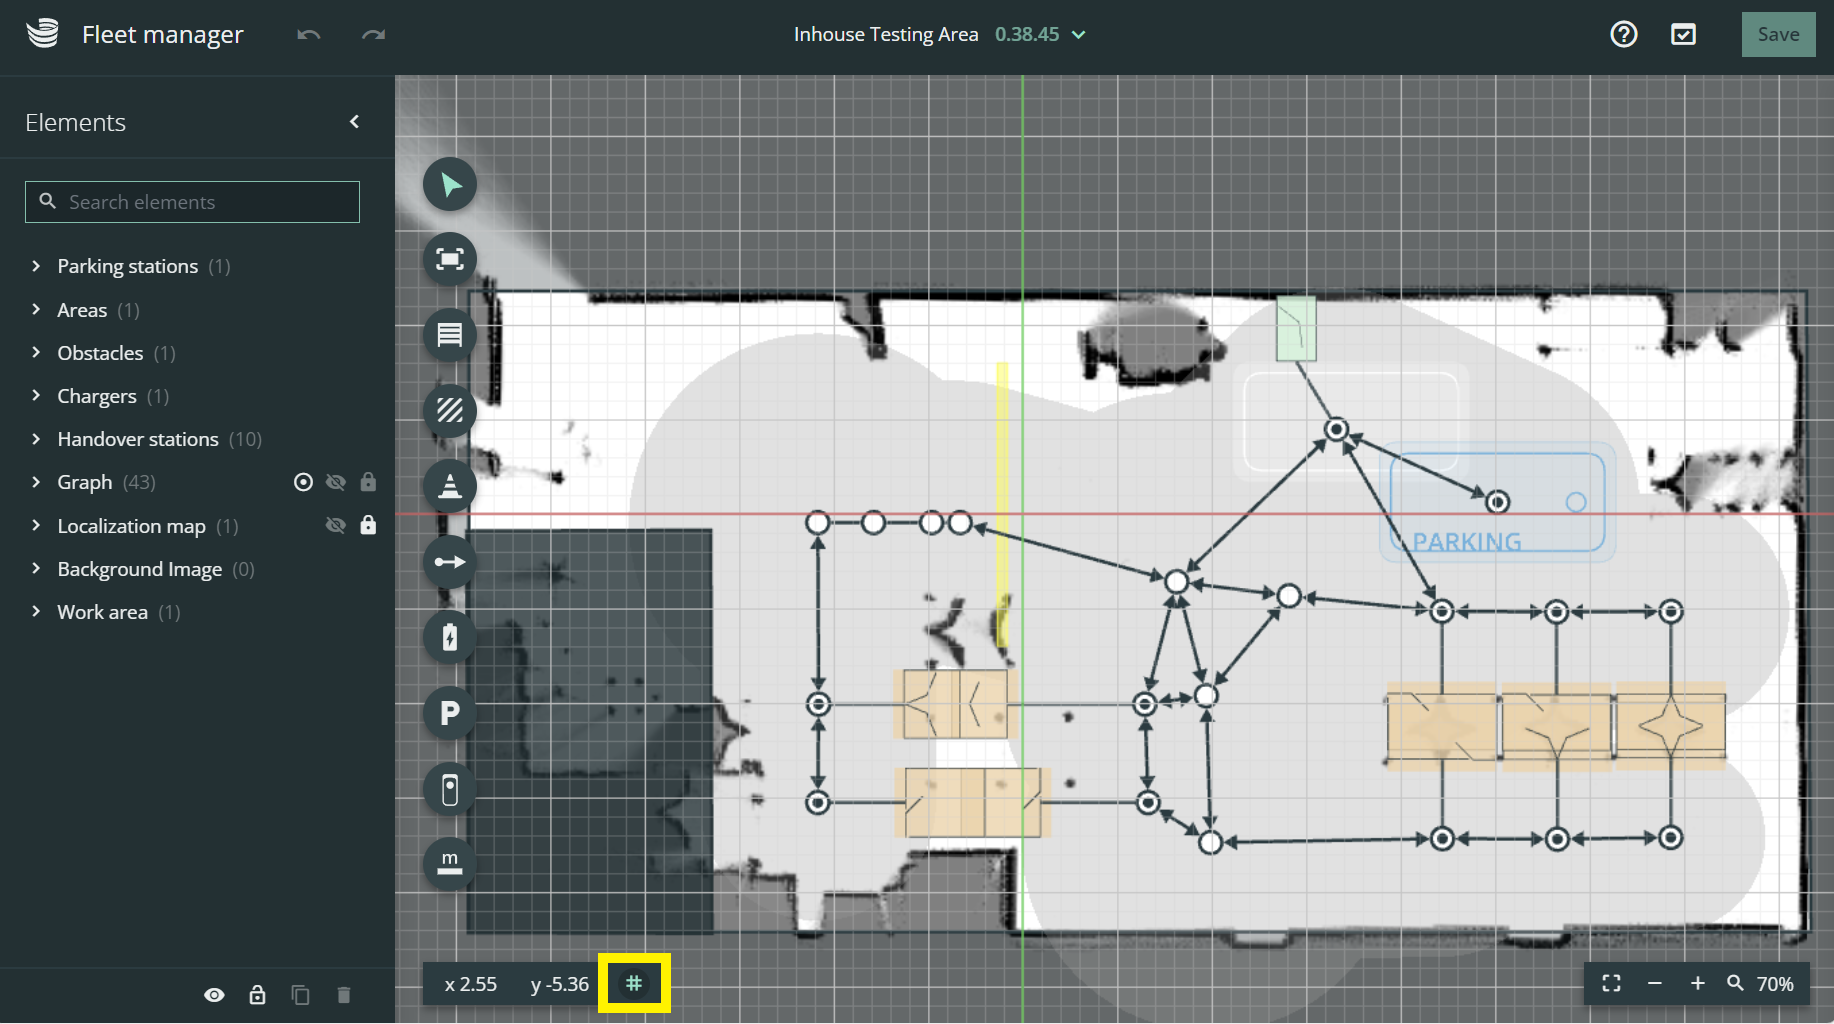
Turning gridlines on and off
The gridlines can now be switched on and off in the Environment Editor by clicking on the gridline symbol in the bottom left-hand corner.
The gridlines are particularly helpful when rotating the map or aligning objects (such as handover stations) at a specific angle i.e. 90° or 45°.
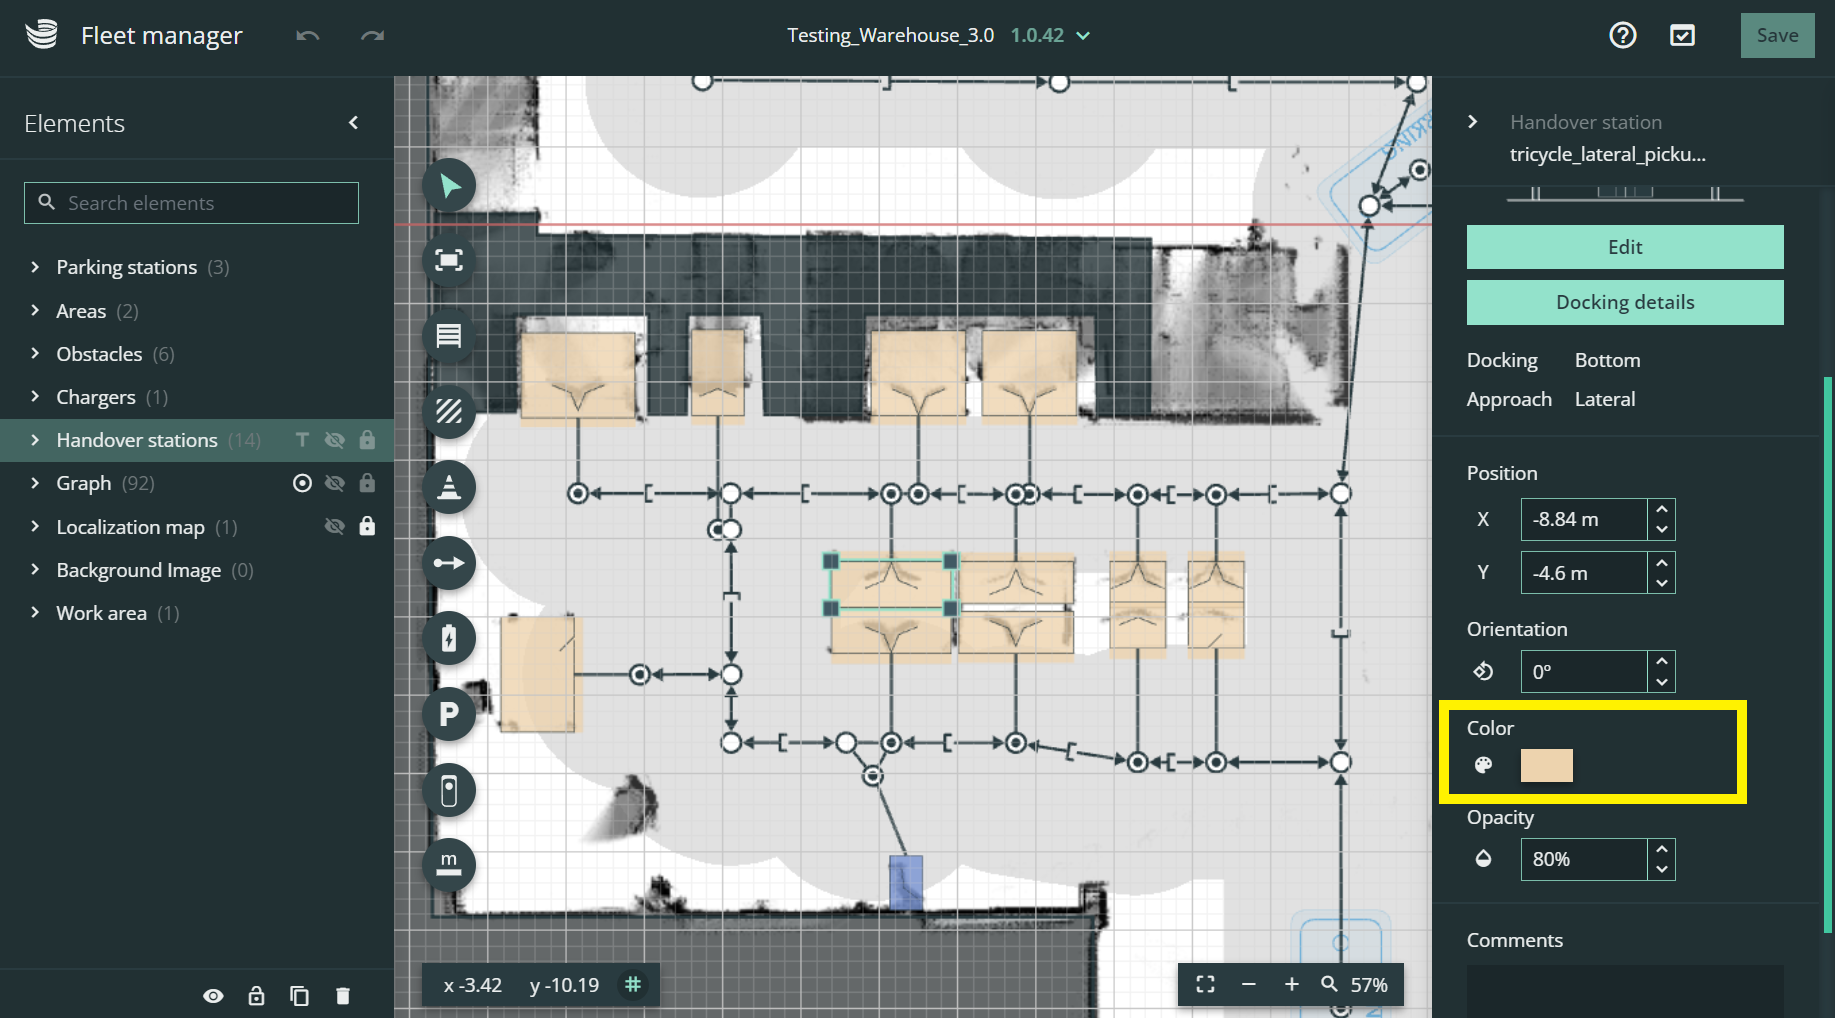
Change the color of handover stations
The new color picker can be used to assign a unique color to handover stations and chargers:
Click on a handover station and click on the color box in the right-hand panel.
Choose any preferred color.
Optional: Click on the small arrows to switch to HEX values.
The color-coding makes it easier to identify handover stations on the map. It is useful to assign colors that correspond to the tape used onsite or other similar markers in the physical environment.
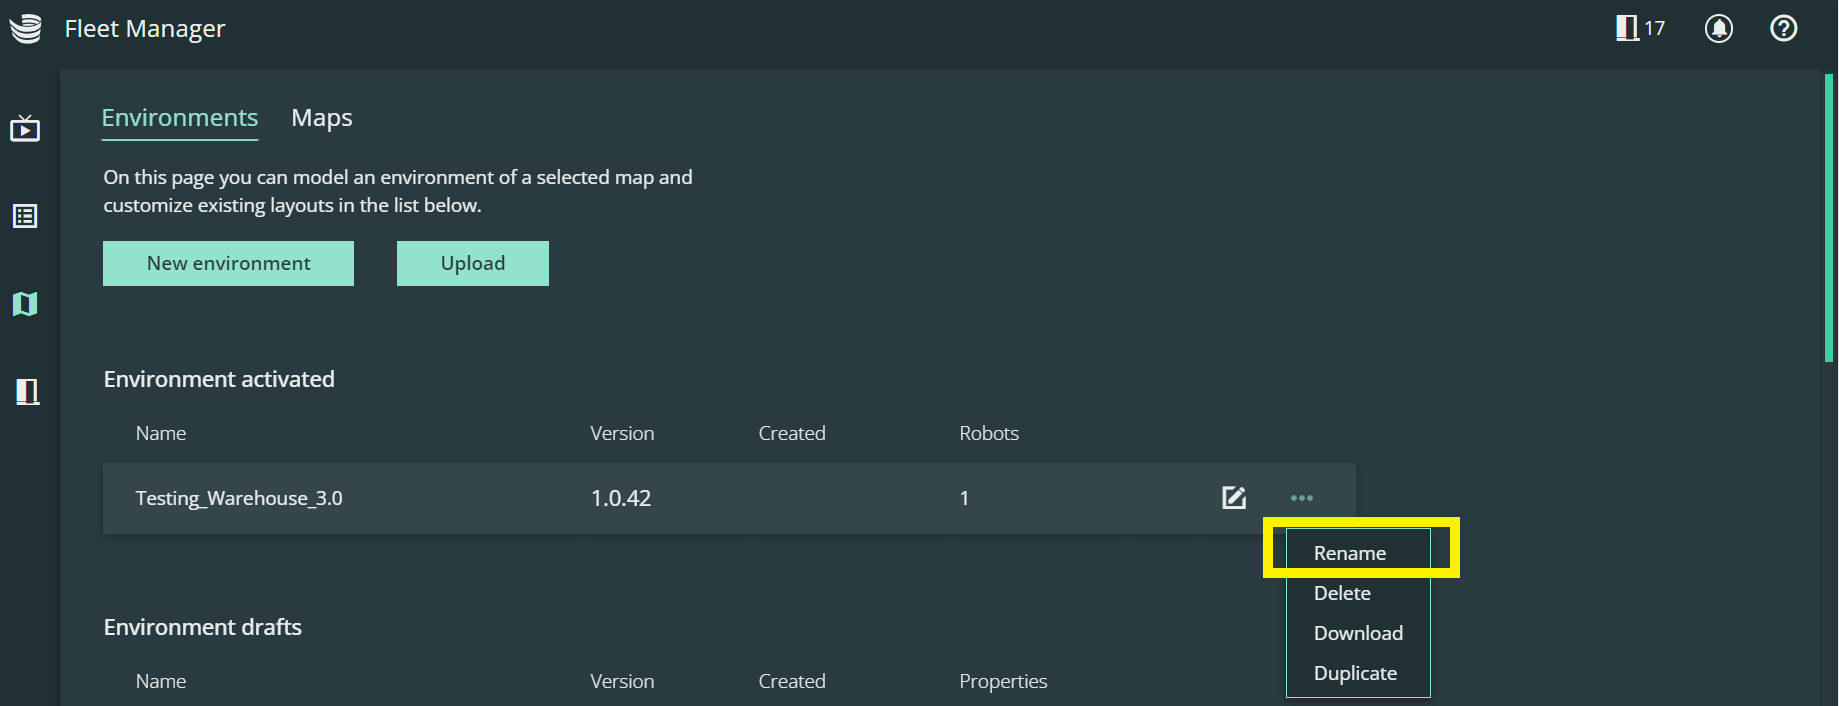
Rename environments
In the Environment Editor it is now possible to change the name of a map:
Click the three-dotted menu and press “Rename”.
Enter a new name and press “Confirm”.
Download environments
Environments can now be downloaded from the Environment Editor:
Click on the three-dotted menu and press “Download”.
Wait for the download to complete.
This is useful for customers who want to operate SOTO via a third-party fleet manager and need to import the map.
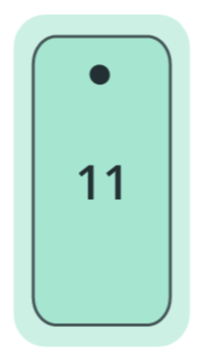
Robot number displayed inside SOTO icon
The robot number of each SOTO is now displayed inside the robot icon for easy identification.
Technical Specifications
This section provides detailed information about the technical specifications of SOTO. This information is intended for technical experts who need to understand the inner workings of SOTO to deploy, troubleshoot, or improve the performance of SOTO.
Activate and deactivate the SOTO display PIN code
The PIN code feature that is used to access certain functions on the SOTO display can be activated and deactivated in MagCLI via the following commands:
software disable-pin
software enable-pin
SOTO adheres more consistently to driving orientations
The robot now adheres more consistently to the driving orientations set in the Environment Editor (EE). This forces the robot to drive with a specific orientation in critical areas and provides more granular control when defining turning points. This also results in fewer instances where the robot hesitates or makes unnecessary rotations.
Barcode detection in motion enabled by default
Barcode detection during docking maneuvers is now enabled by default. The barcode reader will illuminate during docking, instead of flashing solely when the gripper is positioned in front of the KLT. This enables faster barcode detection.
If a specific barcode cannot be identified, the robot will retry and continue flashing in front of the shelf until an error tutorial is shown on the SOTO display.
Troubleshooting barcode detection errors with Foxglove
The Foxglove tool can be used to troubleshoot failed barcode detection errors. In the event of a failed detection, Foxglove displays an annotated image highlighting successfully scanned barcodes with red boxes and their corresponding data. If the target barcode is not identified, the user can verify whether the KLT is present or if the barcode was not captured correctly. If no manipulation video is recorded, a static frame will appear indicating "waiting for video feed".
Detailed exception reports in MagCLI
There are a number of new MagCLI commands:
Command
Description
Expected Outcome
hardware leds color-test
Switches the LEDs to one of the primary colors each second until exiting the script with ctrl + c
LEDs turn on the different primary colors (RGB) every second in a loop
hardware speaker test
Plays a 440 Hz sine wave from the built-in speaker for approx. three seconds
Loudspeaker plays a sound for three seconds
hardware leds blink-test
Tests the blinking circuit safety and overrides the current action of SOTO
Left bar blinks for five seconds, then the right bar blinks for five seconds, repeating until cancelled by the user
hardware bluespot <front/rear>
Enable the specified bluespot, overriding any other commands to the bluespot while the command is running. Pressing ctrl+c will return control of the bluespot to the robot.
For hardware bluespot front, the front bluespot will turn on until interrupted by pressing Ctrl+C
For hardware bluespot rear, the rear bluespot will turn on until interrupted by pressing Ctrl+C
MagCLI commands must contain dashes
Commands in MagCLI must now contain dashes instead of underscores i.e. hardware leds color-test
Performing a vertical axis brake test
The vertical axis brakes can now be checked for wear and tear. When running this test, the vertical axis will move down and the gripper will violate the light curtain to check if the robot brakes properly.
For more information, consult the SOTO functionality test documentation.
JavaScript errors detected
Please note, these errors can depend on your browser setup.
If this problem persists, please contact our support.