The following section describes the functionality of the Live View, which serves as the start page. The Live View is central to monitoring and interacting with the robot fleet, and includes various functionalities which are explained below.
Modeled map and objects
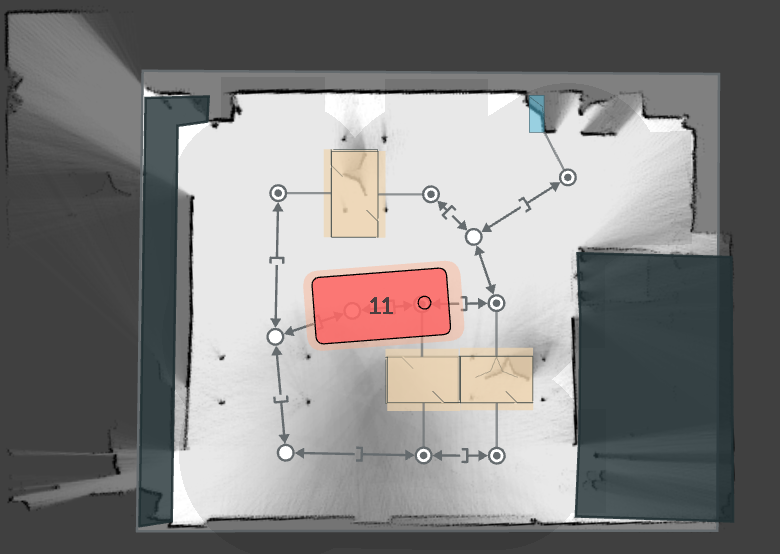
The Live View displays a modeled map that contains all objects added in the modeling tool. This includes the localization map, obstacles, handover stations, charging stations, and the graph with its edges, nodes and the permitted driving area. These objects are essential for the operation of the robot.
Live status and monitoring of the robot
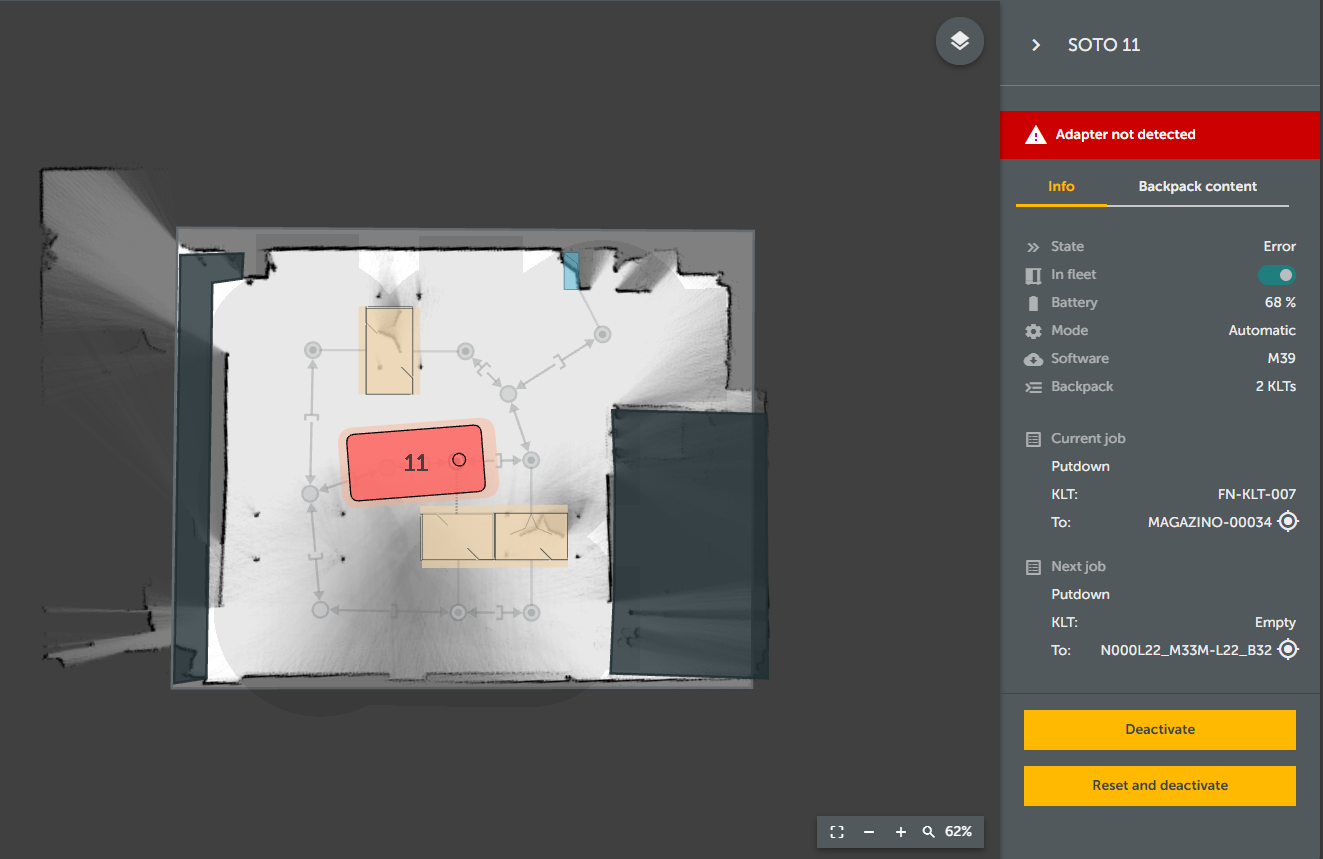
On the start page, you can monitor the robot fleet in real time. To the current status of a robot, click on the robot icon. This makes it easy maintain a view of all robots and their current activites.
Base and horizon
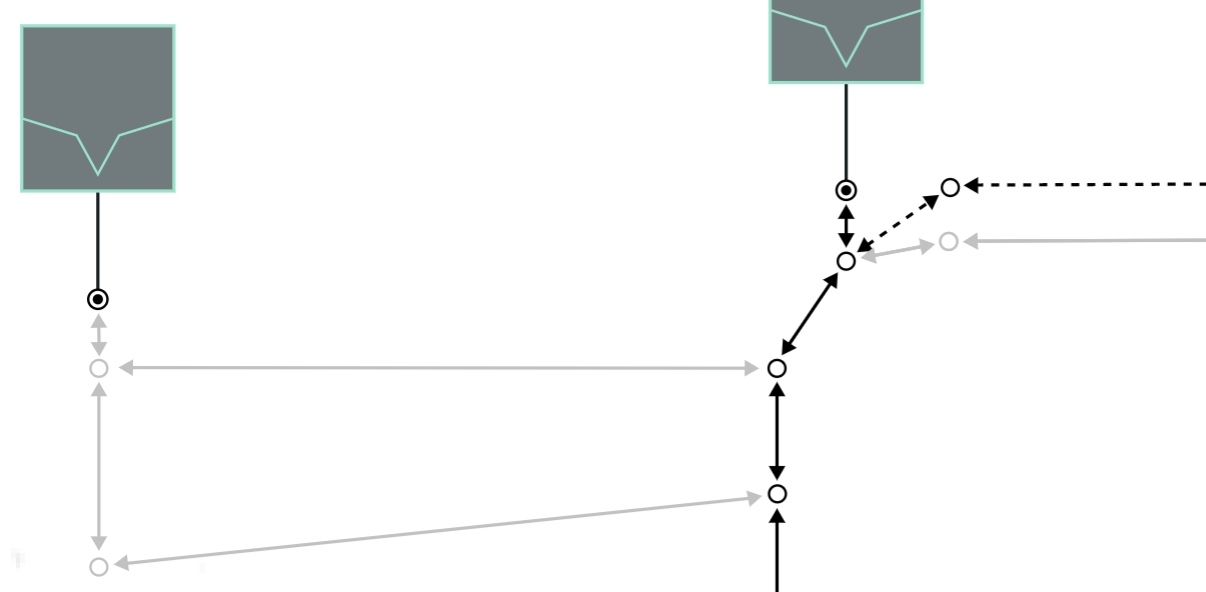
The right-hand panel shows the path on the graph that is already planned (known as the “base”) and the path that is not yet planned (“horizon”). This makes it possible to predict the future path of the robot by checking where the robot is coming from and where it will navigate to.
You can view the base and horizon by clicking on the robot. The screen will focus on the robot and the path changes to black (base), dotted (horizon) and gray (not planned).
Further details about the current and next request are displayed in the properties panel on the right-hand side.
Robots status
The following information is displayed in the properties panel when clicking on a robot.
-
General information:
-
Battery level (x/ 100%)
-
Mode:
-
Manual
-
Automatic
-
Mapping
-
-
Software status (current robot software version)
-
Status:
-
Unknown
-
Standby
-
Error
-
Waiting
-
Navigates
-
Pickup
-
Putdown
-
Loading
-
Unable to work
-
-
Number of KLTs in the backpack rack (x/ 16)
-
-
You can control each robot using the following options:
-
Disable robot: Temporarily deactivates the robot. This means that the robot will no longer receive orders.
The deactivated robot will first complete all existing jobs. It will then drive to a charging station or a parking station.
You can reactivate it by clicking the “Activate” button in the right-hand panel.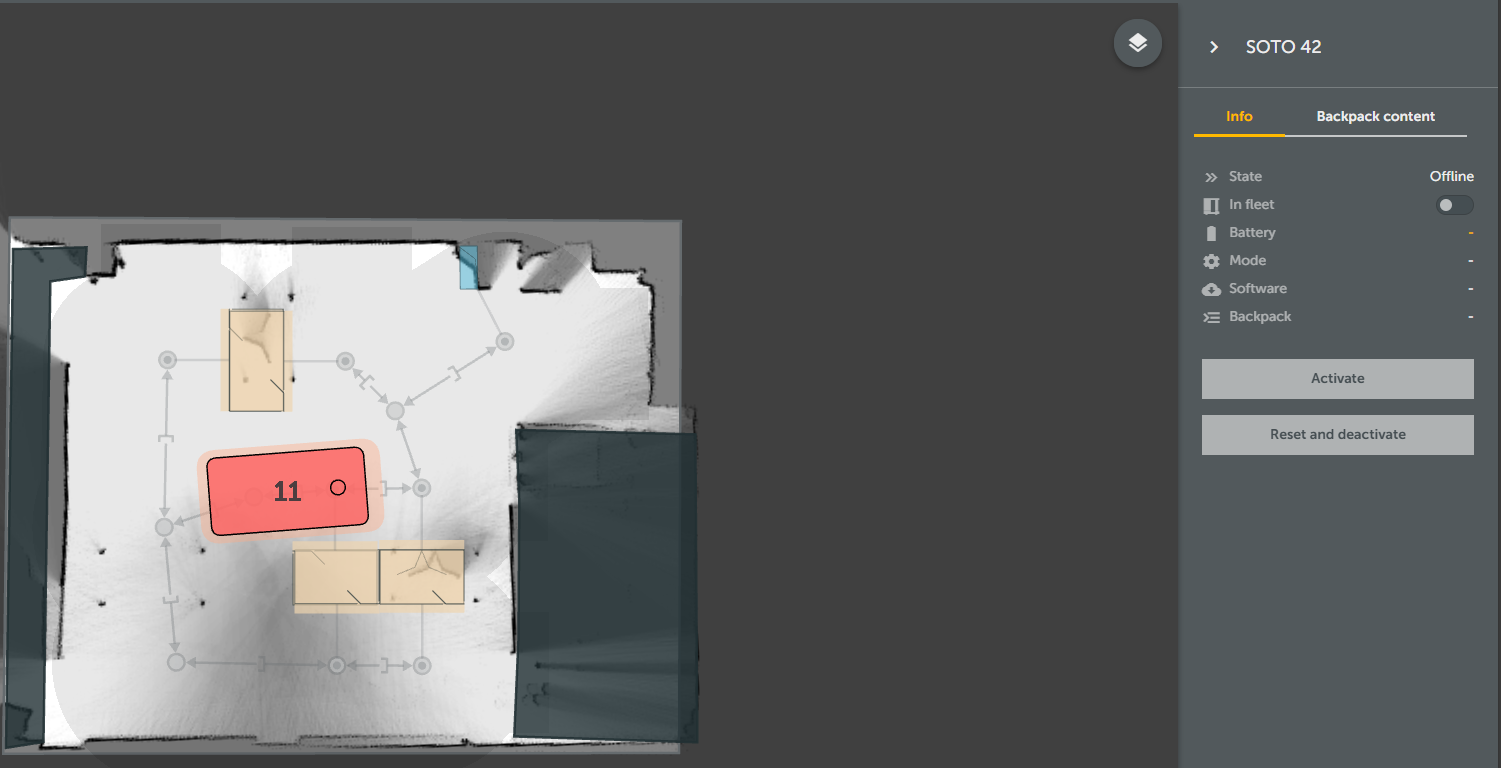
-
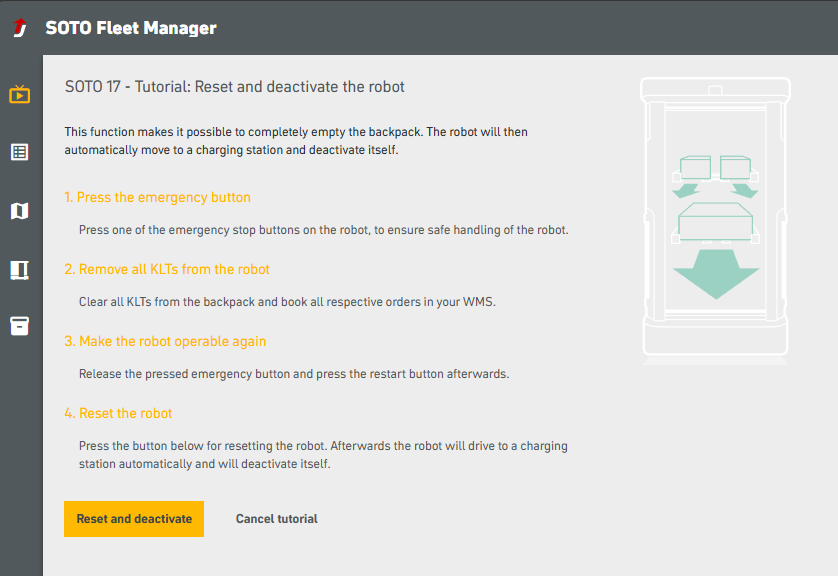
Reset robot: Takes the robot out of operation.
-
The robot will stop on the spot.
-
-
-
This action can also be executed on the robot's display.
-
Object overview

The object icon at the top-right of the screen can be used to show or hide all environmental objects. By clicking on an object group (e.g. handover stations), all related objects are displayed in a dropdown list. This makes it easy to find and focus on specific objects.
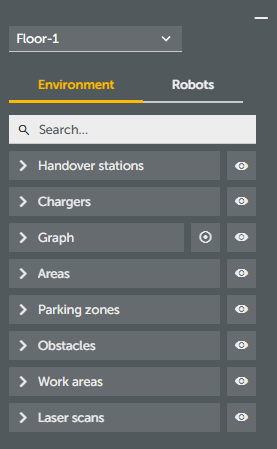
The search bar can also be used to narrow down on specific objects. Clicking on an object in the list will focus the screen and locate the object.
You can use the "eye" icon to show and hide objects:

Environmental objects:
-
Handover stations
-
Charging stations
-
Graph
-
Use the circle icon to show and hide the "fence" (driving area):

-
-
(Speed) ranges
-
Parking areas
-
Obstacles
-
Work area
-
Localization map
-
Background image
Detailed information on objects
When you select an object from the list or click on an object on the map, an information panel opens on the right-hand side. This panel provides detailed information about the selected object. You can jump to the modeling tool by clicking the “Open in editor” button.
Robots:
-
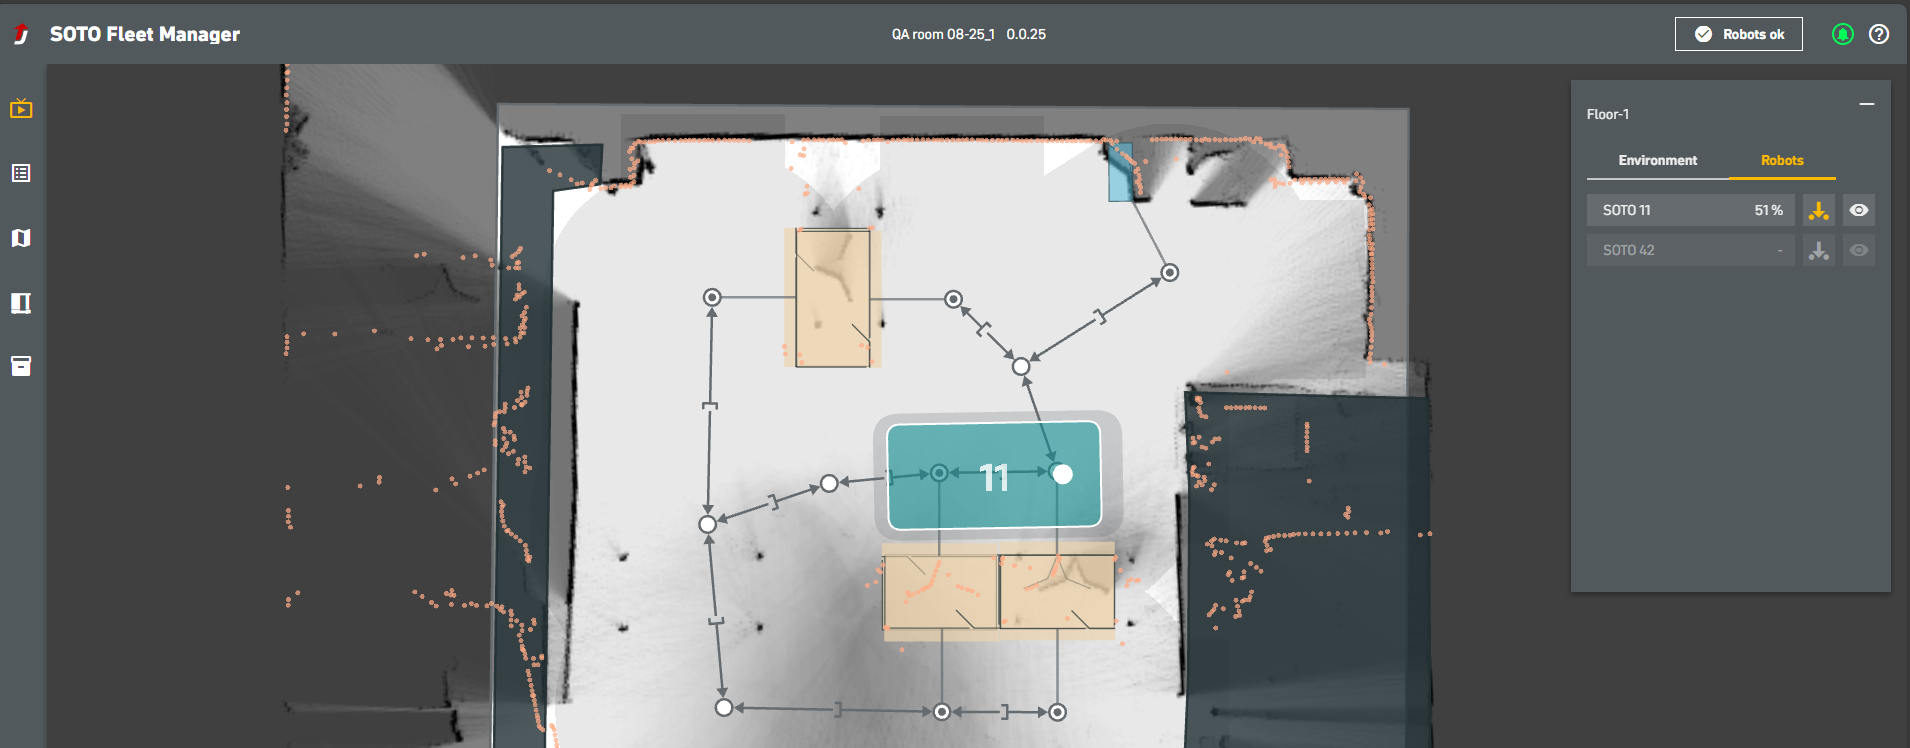
The “Robots” tab lists the connected robots
-
Click the arrow icon to see a live visualization of the robot's lower laser scan
-
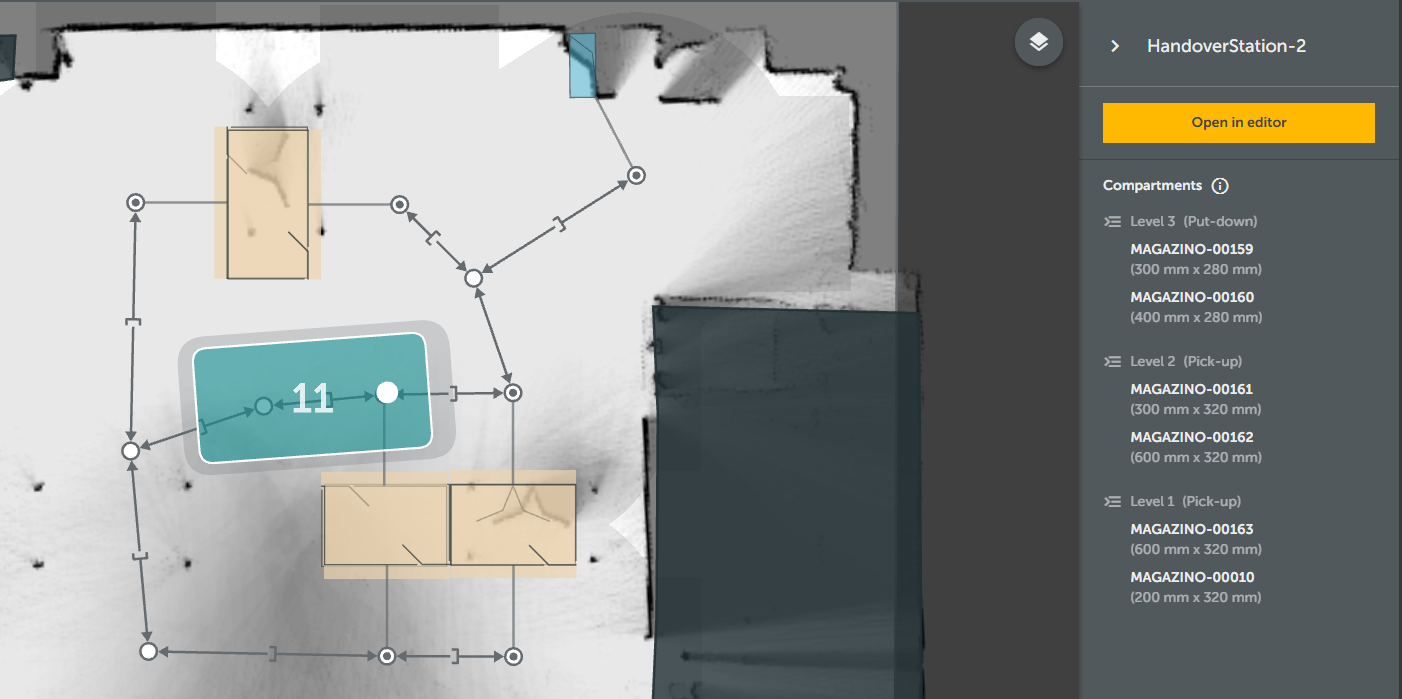
Handover stations
By clicking on individual handover stations, you can view the following information:
-
Compartments and shelf layers
-
To change the configuration of the selected handover station, click the "Open in editor" button. The environment editor then opens.
Charging stations
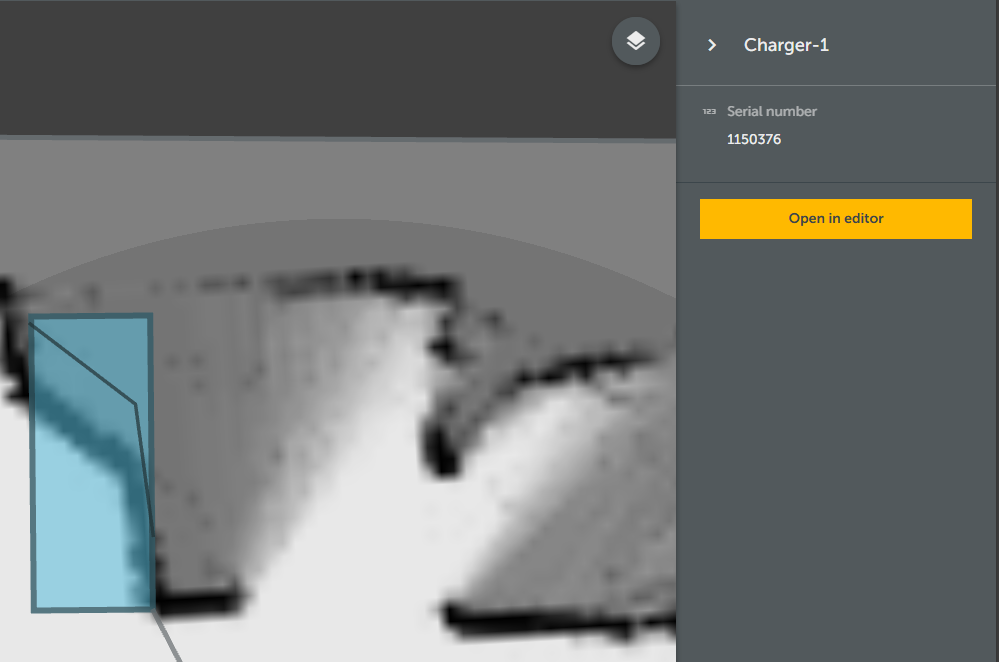
Click on a charging station to view the following details:
-
Assigned serial number
-
To change the configuration of the charging station, click the "Open in editor" button. The environment editor then opens.
Toolbar and navigation
The toolbar at the bottom right of the screen can be used to zoom in on the map. You can also zoom in and out using the wheel of your mouse.