Summary
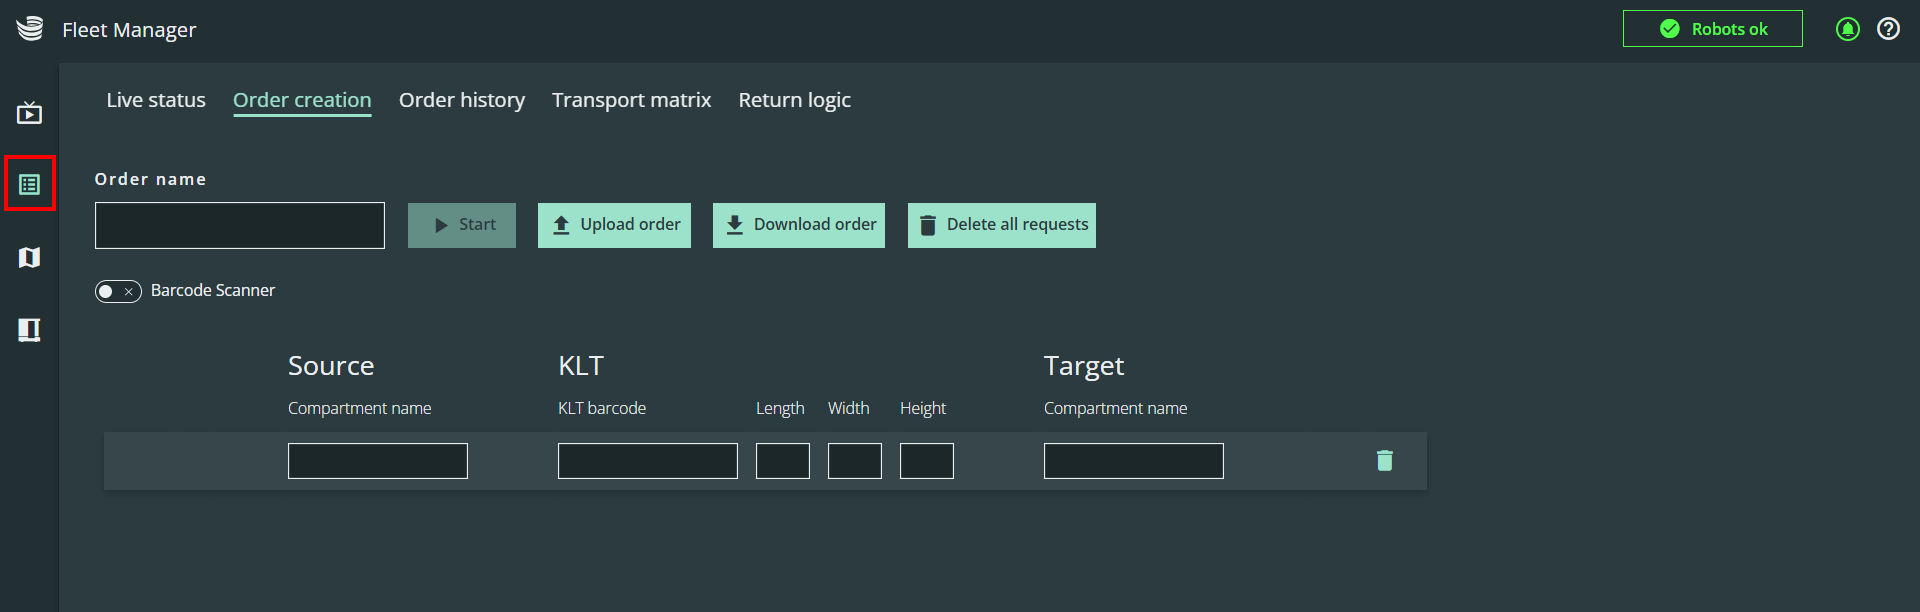
The Order Creator can be used to manually create orders, either by keyboard entry or barcode scanner. To make the process more efficient, you can also upload a CSV file or use the transport matrix. The Order Creator can be accessed by clicking on the order icon in the left menu and selecting the “Order creation” tab.
Usage
There are four different ways to create orders:
-
Manual input
-
Import from file
-
Barcode scanner input without transport matrix
-
Barcode scanner input with transport matrix.
Each is described below.
Manual input
To create an order through manual input, provide the following information for each request:
-
Source: The compartment name of the source. Only existing compartments are valid. As you type, the input field will suggest names from the database.
-
Item barcode
-
Length: the largest side of the KLT
-
Width: the small side of the KLT
-
Height: height of the KLT
-
Target: Compartment name of the target. It cannot be the same as the source.
Blind pick (order without KLT barcode check)
-
Optionally, you can fill the "KLT barcode" field with a hashtag (#) to instruct the robot to pick without scanning the KLT's barcode.
-
The robot will then grasp any item in the source location that matches the specified dimensions and deliver it to the target, without checking the barcode of the KLT.
Valid dimensions (L×W×H)
-
300×200×[80-200]
-
400×300×[80-300]
-
600×400×[80-320]
To input each value, select the relevant entry field or hit tab to move from the current to the next field. Then confirm to create the order.
Each field can be automatically populated by a barcode scanner connected to the computer. If the barcode includes tabs, the input will populate each field.
This functionality may work differently depending on the browser used. Please use Chrome or Edge.
Special barcodes for KLT dimensions
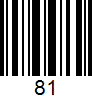
You can automatically populate all three fields related to length, width and height. To do so, a special barcode is required (see examples below).
-
300\n200\n80for 300×200×80 (LxWxH)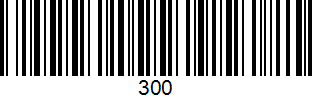
-
400\n300\n80for 400×300×80 (LxWxH)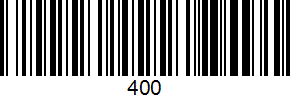
-
600\n400\n80for 600×400×80 (LxWxH)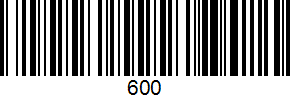
-
600\n400(L×W) and81(H)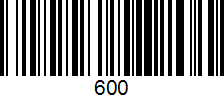
Full order
The entire order input can be encoded in a single barcode (i.e. the source, KLT barcode, dimensions and target). For optimal results, QR codes are recommended.
The sequence of inputs need to be the same as specified in the table: source, barcode, length, width, height, and target.
For advanced usage, please refer to the “Barcode scanner with transport matrix” section.
Partial order
Multiple barcodes can be used to populate a single order. However, the encoded information within these barcodes must match the exact sequence of the required entry fields. For example, one barcode might contain the KLT source, barcode, and dimensions (filling the first three sequential fields), while another barcode provides the target (filling the subsequent field).
For advanced usage, please refer to the “Barcode scanner with transport matrix” section.
Acoustic and visual feedback
If an invalid entry is made, an audible signal and error notification will appear.
Valid scan:
.png?cb=7db7f6e6fe458e98e2f12ac3b4879ed3)
Invalid scan:
.png?cb=7c514b42d5efeed225023341c50ab576)
Barcode scanner usage
You can use a barcode scanner to quickly create orders instead of a keyboard. This can be enabled by toggling the barcode scanner button in the top right-hand corner.

This makes it possible populate all entry fields by scanning a single barcode. Once the last entry field of an order is filled, a new line is added for entering additional orders. You can scan several barcodes after each other, but the encoded information must follow the sequence of the entry fields.
The mouse is still usable in barcode scanner mode, and entry fields can be selected manually. The barcode scanner mode automatically deactivates when clicking into an entry field. To resume scanning, toggle the barcode scanner button.
The barcode scanner and keyboard language layout need to be the same.
The barcode scanner must be configured to append a carriage return (CR) character as its terminating character suffix (terminator). This automates the 'Enter' key press after each scan.
Barcode scanner with transport matrix
The barcode scanner mode has to be active
Once activated, the transport matrix serves as the basis for all scanned barcodes. This means entry fields will be populated automatically according to the identifiers and inputs defined in the matrix. If multiple barcodes are used for a single order, you can scan them in any sequence; the corresponding entry fields will still be populated based on the transport matrix values.
For details on how to create a transport matrix, view the following page.
CSV Download and upload
Upload
Orders which were already created in a CSV file can be uploaded using the “Upload CSV” button and are displayed in the table.
Warning! Existing table content will be overwritten by the upload.
Download
The entire order table can be downloaded as a CSV file for further usage.
Editing of orders
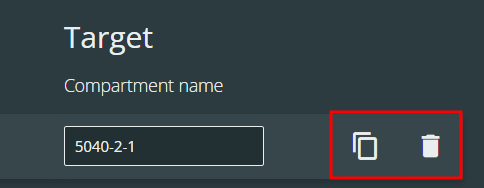
Orders can be duplicated and deleted via the icons on the right-hand side of each entry.
The sequence of orders can be changed using the arrows on the left-hand side. The robot will follow this sequence when processing the jobs.

Starting an order
Once all requests were created, the order can be started by scanning a special barcode with the content “$start_order” or by clicking the “Start” button.
.gif?cb=e42ad2e3a15ec146386be763c3fc5daa)
Order validation
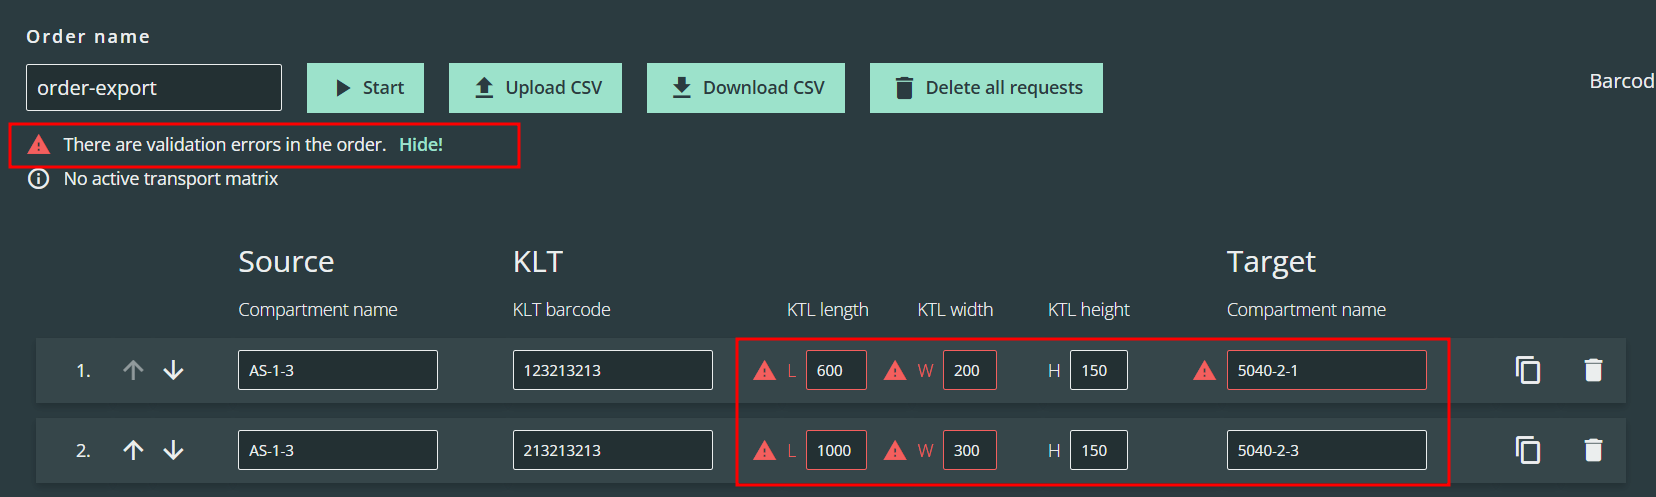
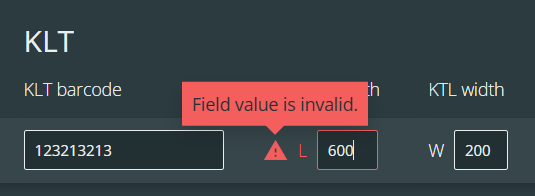
When creating orders, red icons with useful feedback are displayed next to each entry field. You can view the feedback message by moving the mouse pointer over the icons.
Once the start button has been pressed, all orders are also validated and feedback is displayed in the table.