Summary
The transport matrix can be used to generate full requests with as few barcode scans as possible. You can create a transport matrix by populating a CSV table. Once activated, the system uses this CSV data when you create orders with the barcode scanner.
Transport Matrix
Follow these steps to create a transport matrix:
-
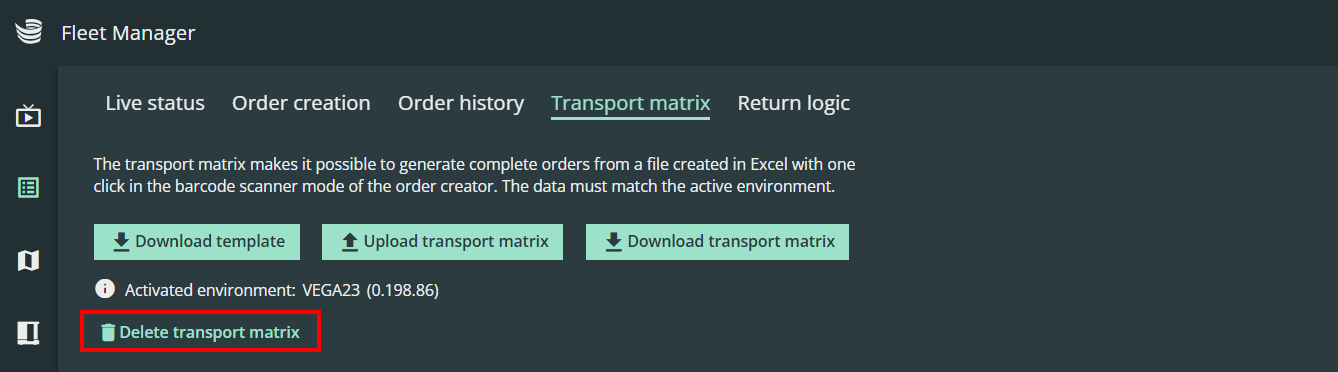
Click on the transport matrix tab and download the CSV template
-
Create the transport matrix in Excel
-
Upload the transport matrix
-
Activate the transport matrix
1. Download the CSV template
The CSV template contains all the sources and targets that were modeled in the Environment Editor.
Unknown Attachment
2. Create the transport matrix in Excel
Open the CSV file in Excel. Then fill in the table with the desired data and save the CSV file. Make sure you follow these instructions:
-
Use Excel to edit the CSV file.
-
Set all fields as text and make all columns wide enough.
-
Possible inputs include: KLT barcode, source name, target name, or another barcode that is not included in any existing fields.
-
Optional: Alternative targets. Put-down (target) compartments can be mapped to alternative compartments. If the put-down fails, SOTO will navigate to the alternative shelf and attempt to place the KLT into the alternative compartment. SOTO will resume the previous tour when the KLT is placed into the alternative compartment.
-
If a field should not be populated by the matrix, leave the corresponding cell blank. The field will then require a separate barcode scan.
-
To instruct the robot to ignore the KLT barcode of an order, enter a hashtag (#) in the KLT barcode field. (Note: This is not recommended, as it reduces pick precision and increases the risk of picking the wrong KLT).
-
To instruct the robot to pick a KLT with an unknown height, enter a hashtag (#) in the KLT height field. (Note: This reduces manipulation speed and overall performance).
-
Ensure that all information aligns with the activated environment: all source and target compartments must be correct, and KLT sizes must match the compartment sizes.
-
Ensure that all source and target compartments from your environment model are included in the transport matrix. If a source or target is not associated with any barcode, retain their entries as they appear in the template.
The transport matrix is not compatible with compartments modeled as both source AND target
How to import in Excel
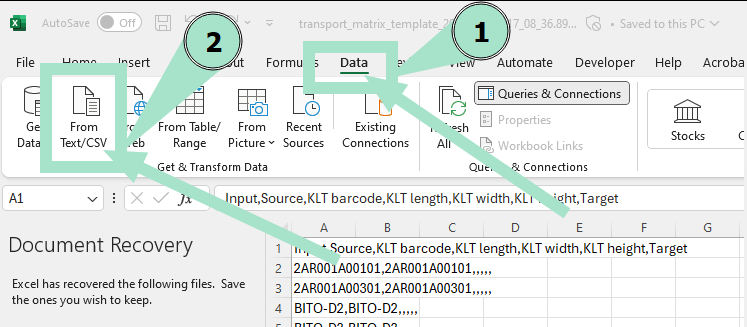
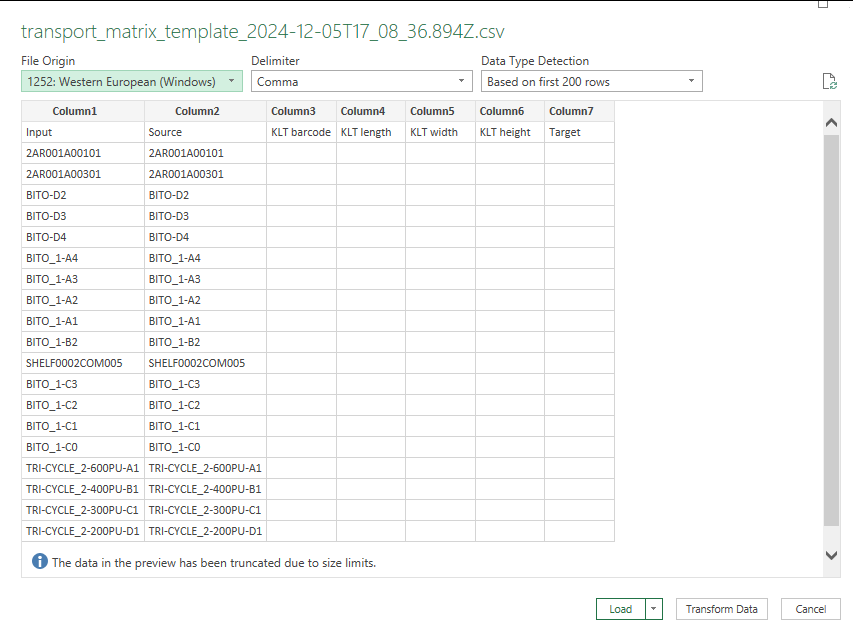
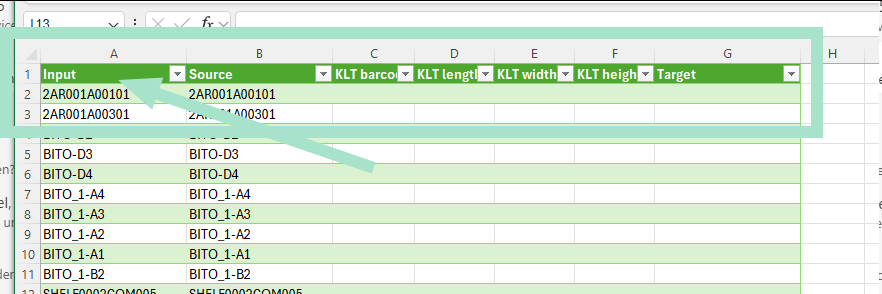
3. Load transport matrix in the Order Creator
Click the “Upload transport matrix” button in the MFM to import your template.
If there are validation issues, they need to be fixed in Excel.
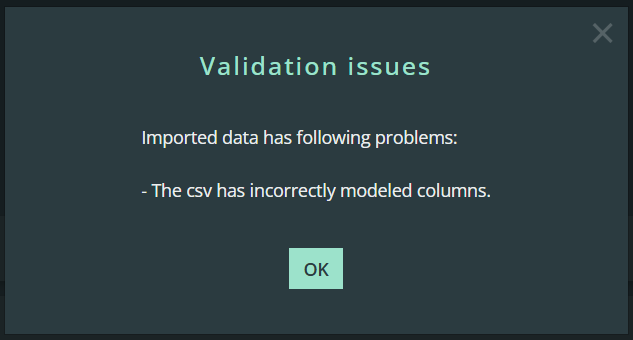
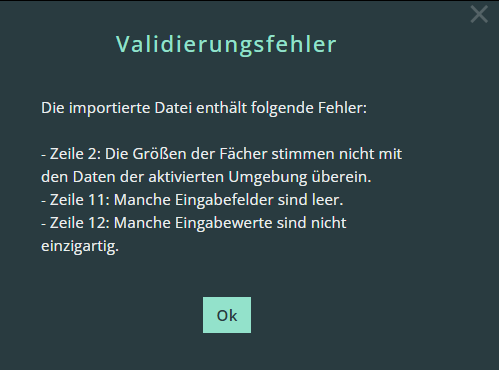
If successful, the uploaded transport matrix will be displayed in a table.
Note: This table is not editable. If you want to modify the transport matrix, you must edit it in Excel and upload a new version of the CSV file.
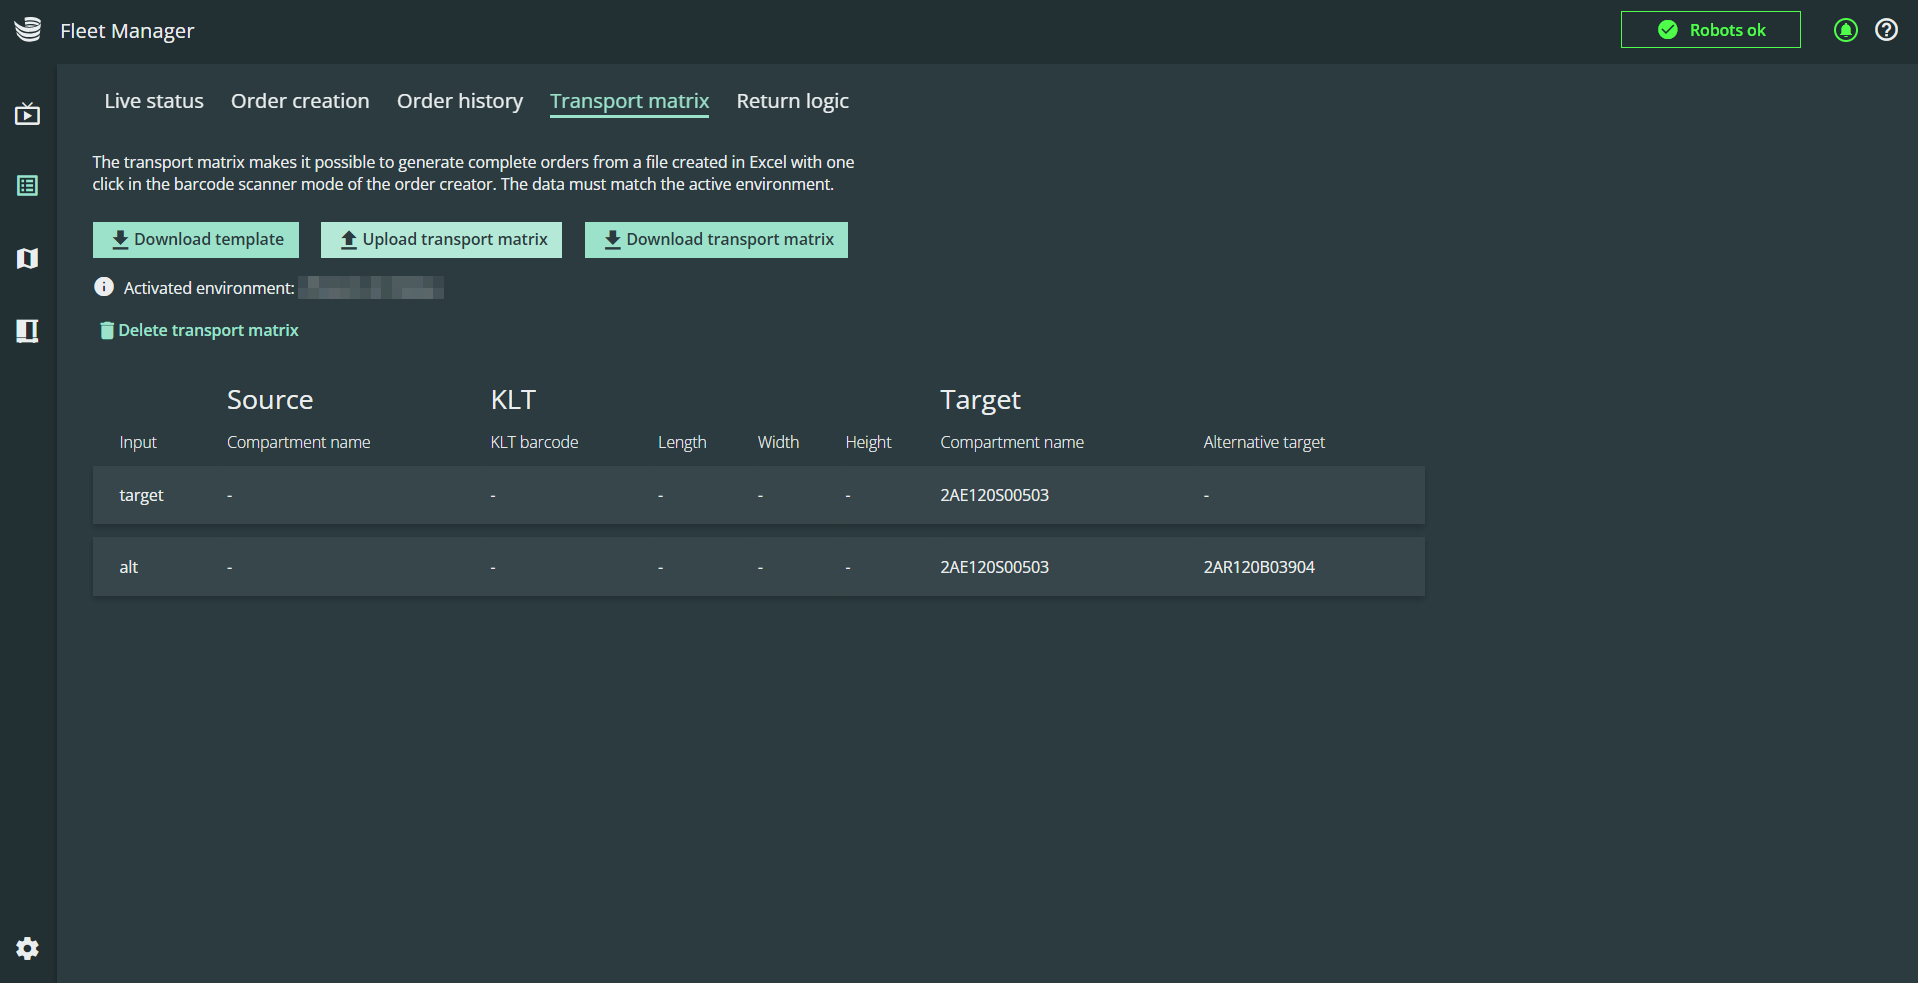
You can delete an active transport matrix by clicking the “Delete transport matrix” button.
Warning! If you delete a transport matrix, it cannot be restored in the MFM. Please download the the transport matrix before deletion.